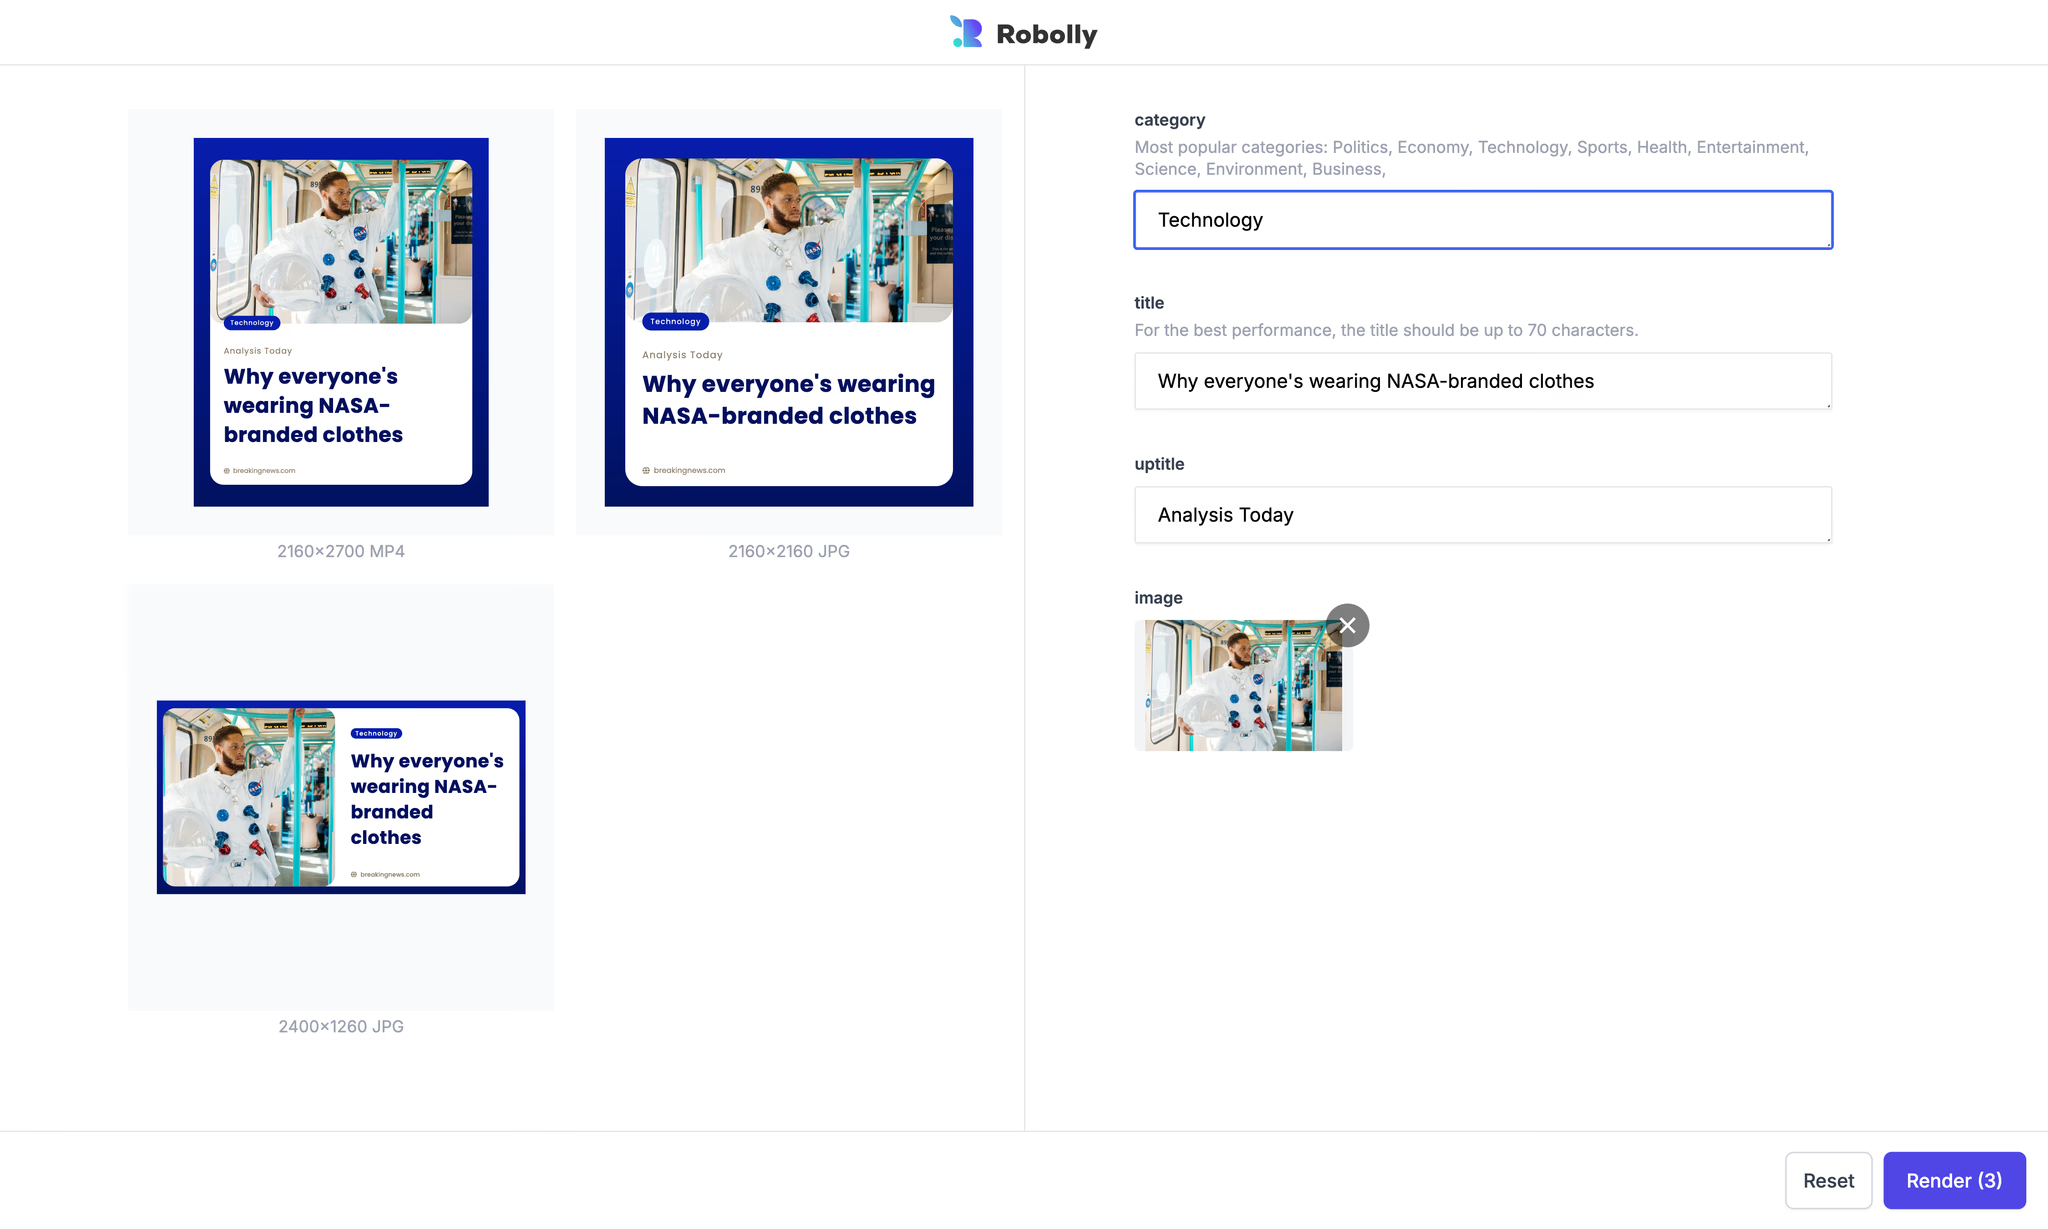
Render Forms
Render Forms open up many new opportunities for creating your images, PDFs (including multipage PDFs!), and animated videos more effectively. Thanks to Render Forms, you can share templates with your colleagues or clients, enabling them to easily render visuals without struggling with design editors or asking you to design images yourself.

How to set up Render forms
Working with Render forms is extremely easy and intuitive.
- Set up a template as you're used to—either by importing templates from the Template Gallery or by creating new ones from scratch using the Template Editor.
- From the left menu, navigate to the Forms section.
- Create a new Render Form by clicking the New Form button.
- Select the templates that you want to render.
- In the left panel, choose the format and size of the visual.
- Select which fields you want to modify by switching between Visible and Hidden.
- (Optional) Write a description for your fields. Tip: Here, you can leave notes or instructions for your team members or clients.
- Save your changes.
Now, you’re all set! Click the Copy button to copy the Render Form’s sharing link, and send it to your colleagues or clients.
Supported file formats
You can render the following file formats via Render Forms:
- JPG
- PNG
- WebP
- Multi-page PDF
- MP4 (one-clip videos)
What is the Form's sharing link and how does it work
Once you have created and shared your Render Form, anyone with access to the Render Form's link can render visuals based on the templates added to this form. When someone uses your form, it will use your account's render credits at the usual rates (you can read more about render credits here).
If you want to revoke access to the Render Form, you can delete the current sharing link and generate a new one in the right panel of your Render Form.
Images uploaded via the shareable form will appear on the Renders & Assets page in the dashboard.
White-label Render forms
You can use Render Forms for white-label rendering. This will remove the 'powered by' badge, and, if desired, you can add your own logo or image to each Render Form.
It is also possible to set a Form render limit – the number of render credits allocated to each Render Form.
These features are included for enterprise customers and available upon request for high-rendering business accounts. If you'd like to use white-label Forms, please contact us at [email protected].