How To Create Personalized Certificates of Completion in Bulk
A certificate is the best way of saying "Mr. A has gone through all that’s required and is qualified to in skill X". Since certificates hold such great value, it is important to create outstanding designs and make them attractive.
What you should know in order to design the best certificates
Below is a list of some of those things you should know while creating your certificate designs:
- First of all, you will have to choose a design company or service that can offer high-quality certificates for printouts.
- Secondly, you will have to choose a template that showcases the quality and provides real attachment to whoever is receiving the certificate.
- Thirdly, the template chosen needs to be consistent with the identity of the company, business, or event where the certificate will be issued.
Knowing the above should be the first step of designing great certificates for any use case.
Now, let’s jump into Robolly in order to show you how to design some personalized certificates in bulk.
To get a clear picture, we will use a case study.
A case Study
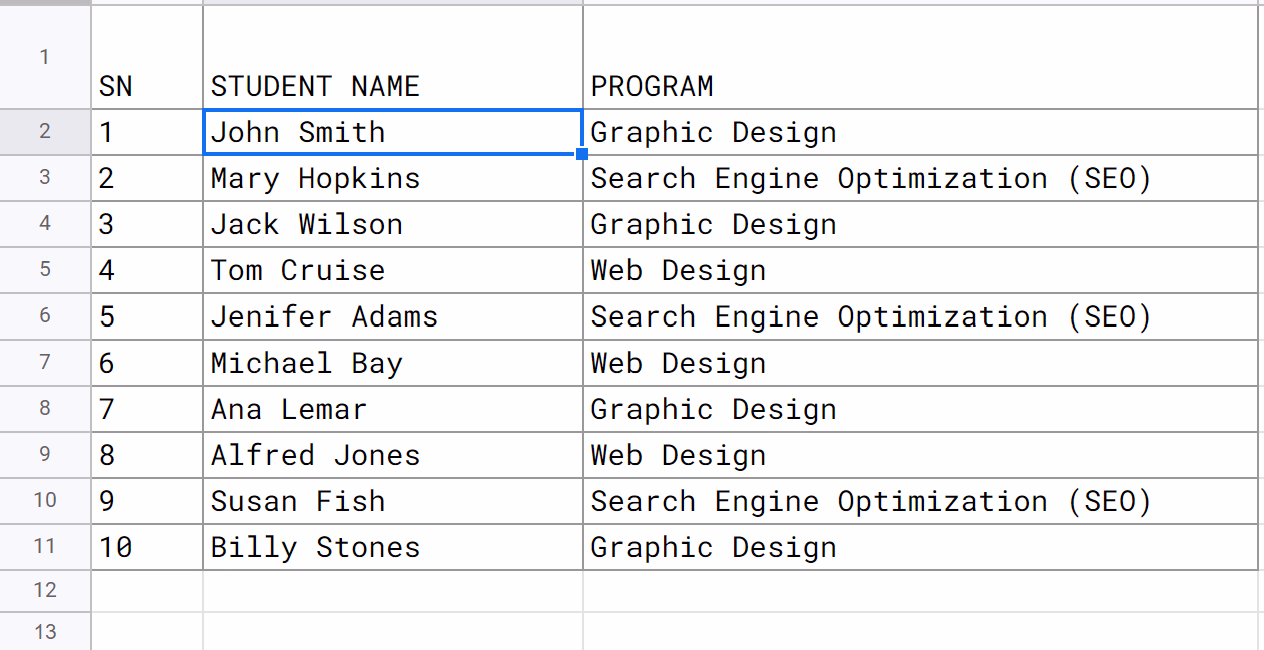
A computer training institute has 10 students who have successfully completed their programs and are awaiting their certificates. This institute offers 3 different programs; Graphic Design, Search Engine Optimization (SEO), and Web Design.
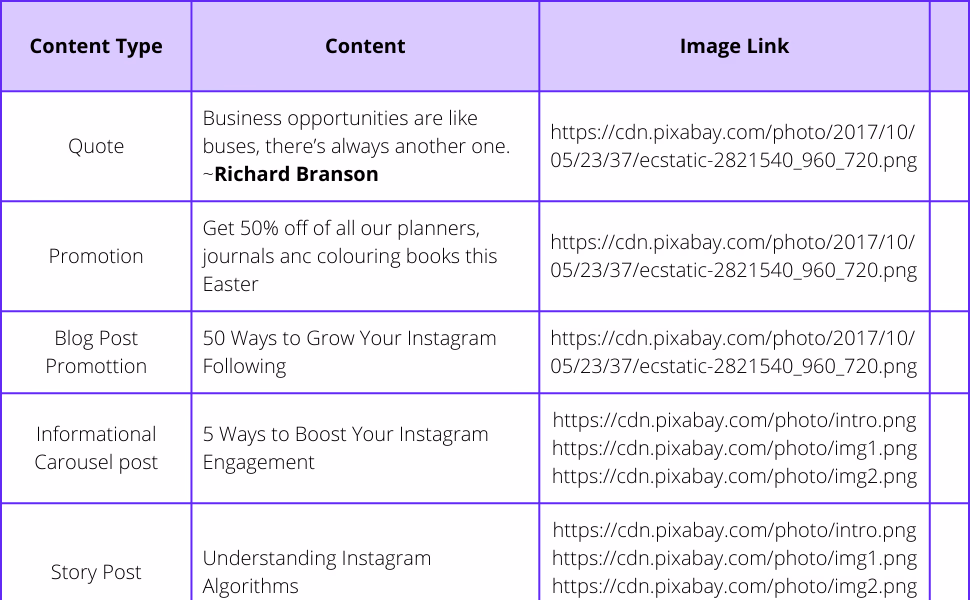
The institute now has a list as follows:
We will now create 10 certificates on Robolly, all at once, using the information provided in the table above.
1) Choosing the right template
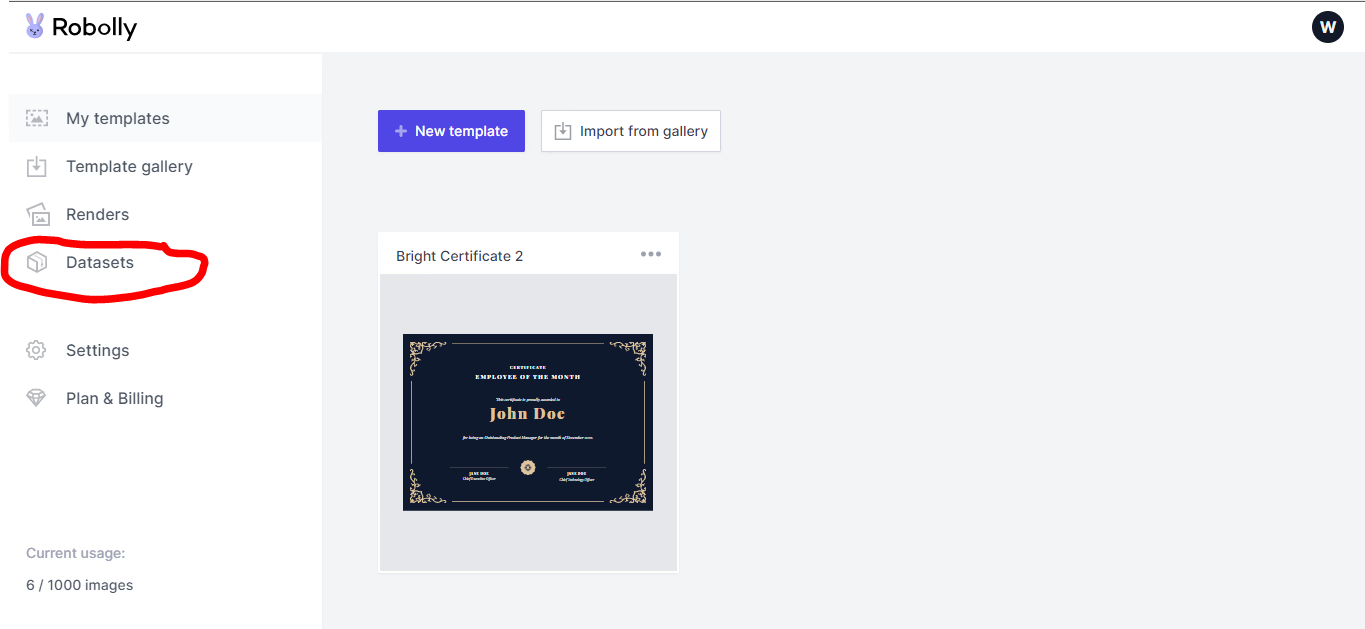
After successfully creating your account on robolly.com and logging in, you’re welcomed with the page below.
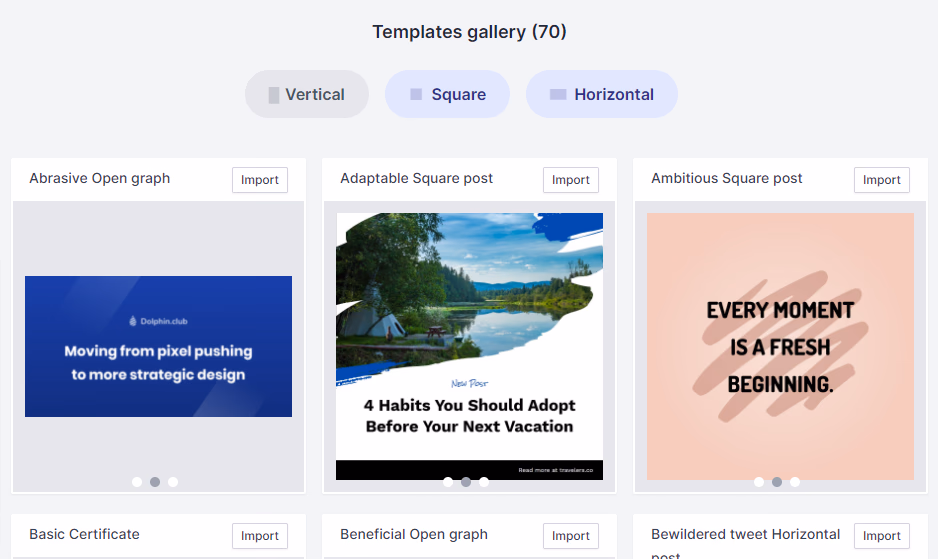
If you have great graphic design knowledge and want to create your own design from scratch, then you should click on the "New template" button. For the purpose of this guide, we will use the pre-existing templates built into our system (which we keep updating regularly). To do this, simply click on the “import from gallery” button or the “Template Gallery” link by the left panel of the page.
We all know that most certificates come with a horizontal layout. So, to get a certificate template, it’ll be easier to look that way (horizontal layout). Toggling the "Horizontal" button presents us with a set of templates that includes the ones we can use for designing our training institute certificate.
For the purpose of this design, we will now go with "Bright Certificate 2", by clicking on the “import” button beside the template name.
Note: You can still find a ton of certificate templates when you scroll down
2) Customizing Your Chosen Template
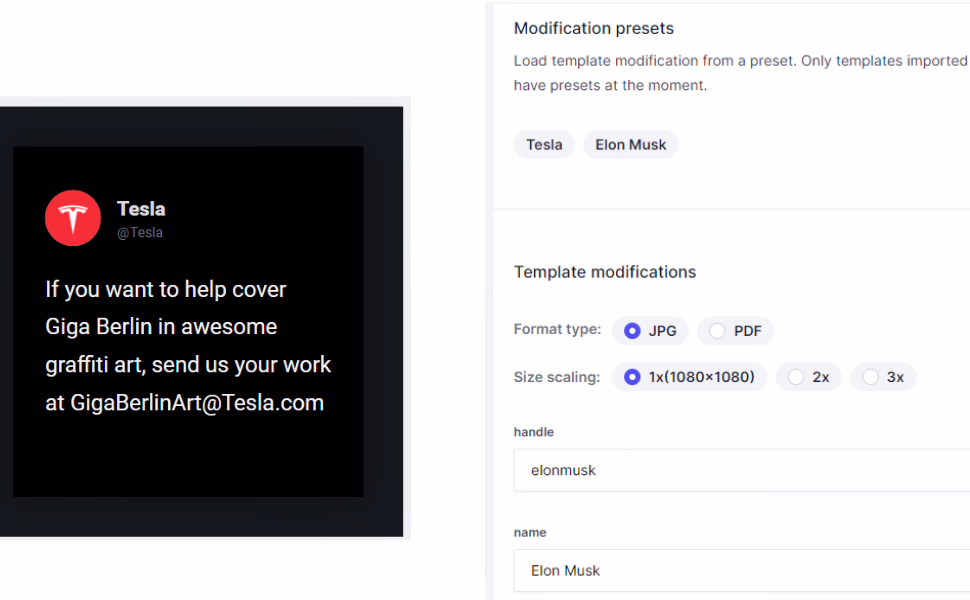
Upon importing the template, you are then presented with a page that shows a render of how the final certificate will look after the design is complete.
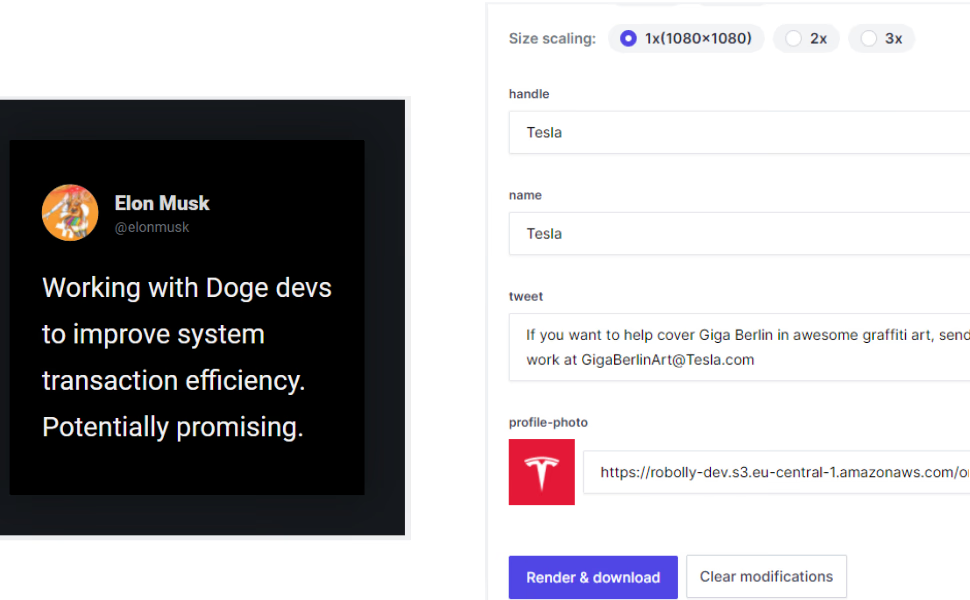
This page has been split into 2 major panels. The left panel shows the real-time render of the certificate and the right panel is where you manually input your text, select the output format, size as well as links that you can use in embedding the final certificate as an API (Application Programming Interface) or in your JavaScript projects too.
From the right panel, assuming we want to take the data from the first student in the table above and use it to create a certificate for that student, then all we have to do is fill in the individual details to replace what’s currently on the right panel.
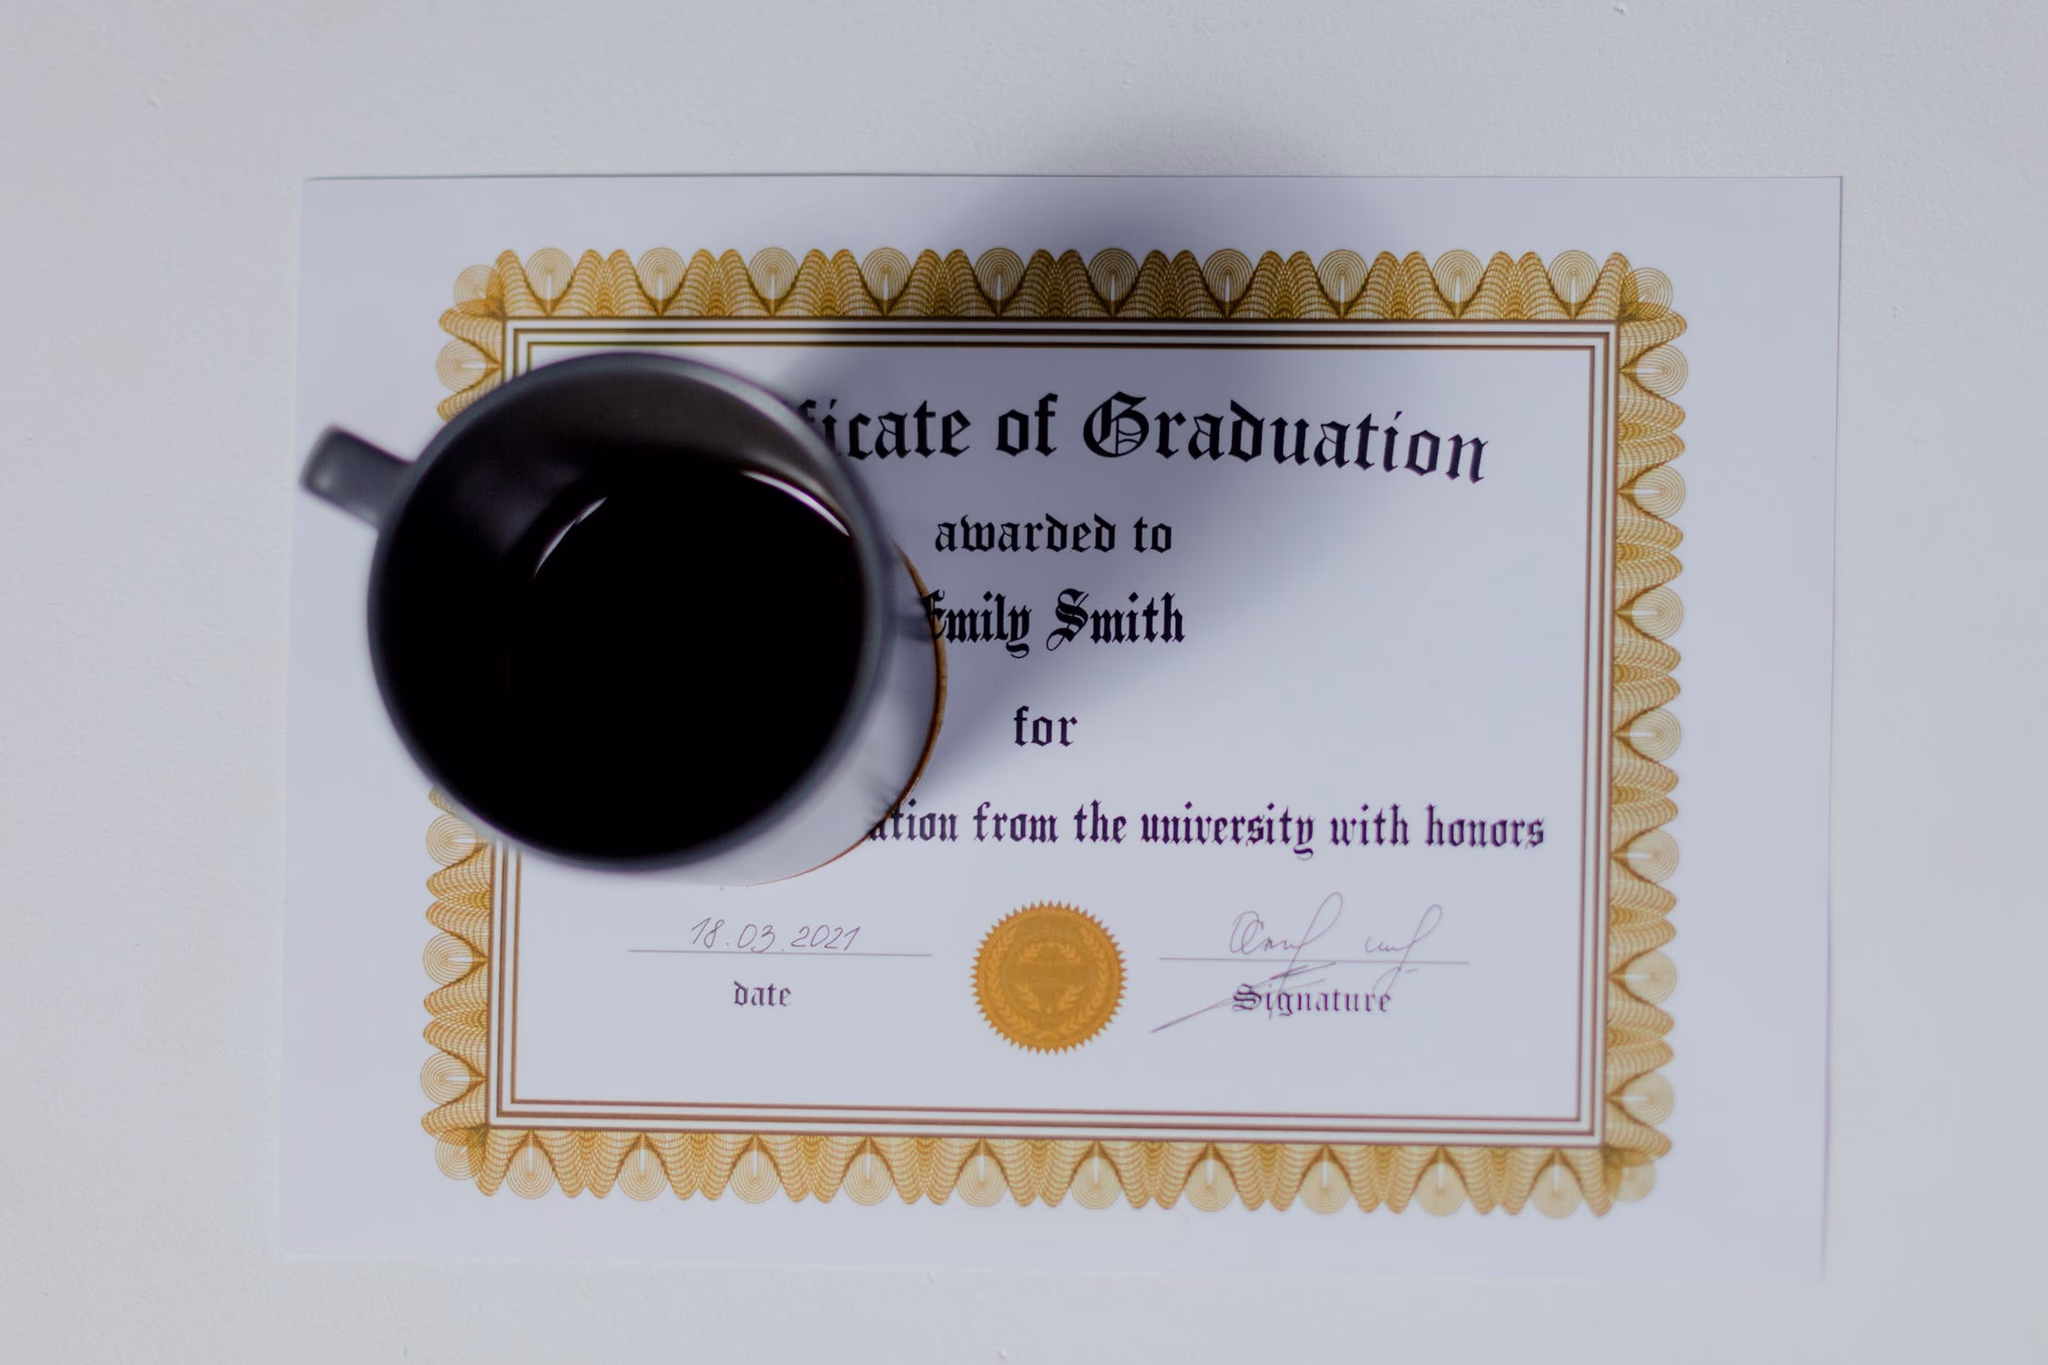
Hence, the certificate will be rendered as thus:
That was how easy it was to create a single certificate. The process takes just a few steps and you’re done.
3) Handling Bulk Designs with Robolly
Robolly was built to "automate" graphic design processes and that comes in handy when dealing with bulk procedures. Imagine having 100 certificates to design. Does it mean we have to follow each student’s detail from 1 to 100 and type the information individually? Apart from the tediousness that comes with it, the probability of making mistakes becomes higher. That brings us to the procedure of handling bulk certificate designs.
To do so, we will need to go to the earlier page that shows the render and information panel. Remember the page? It’s this one:
The purpose of going to this page is to get the fields required when creating the dataset that will be used for bulk action.
What is a dataset?
A dataset (also known as a data set) is a set of data that is usually displayed in tabular format. Each column corresponds to a different variable. Each row refers to a specific member of the dataset. The dataset may include data for one or more members, with the number of rows corresponding to the number of members.
We can now proceed with this guide given that we have a fundamental idea of what datasets are.
After taking note of all the fields that are required to design a certificate, it is now time to have a dataset created for our computer institute certificates.
On the main dashboard, click on the "Datasets" menu by the left panel as shown below:
If this is your first time creating a dataset, you’ll be presented by this page:
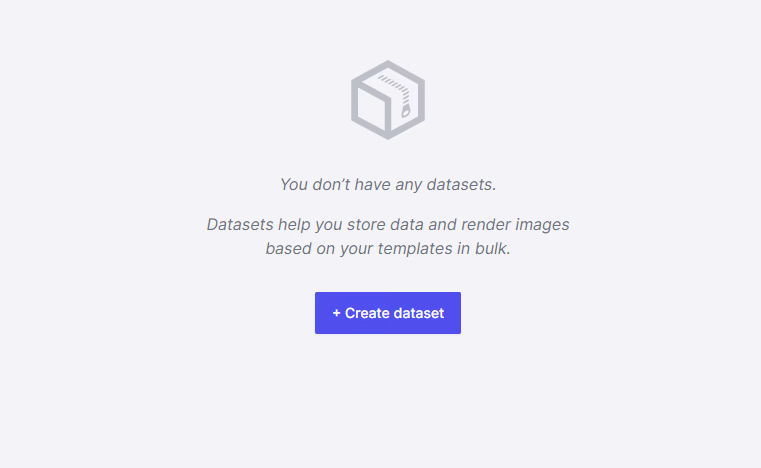
Now obviously, you are to click on the "Create dataset" button to create a new dataset.
Because we have already selected a template to use from the steps above, we will be asked to select the template we want to implement this new dataset on.

After selecting the template, the next thing we are to do is to choose the format type as well as the size scaling.
Note: PDF format supports higher resolutions and is highly recommended if you want to have a large printout of the file.
Next, we will then see a page that will allow us to import the file containing the list of all the students and their type of certificates, so that they can be processed and rendered in bulk.
You can also give your dataset a name, by clicking on the "Untitled dataset" text above and typing the name that will easily help you identify it for future use.
From the individual certificate we designed earlier on, we modified the following:
- signature-1-name
- description
- name
- title
Comparing what we have modified to the table of students we have above, it means we will need to create a CSV file to match those fields.
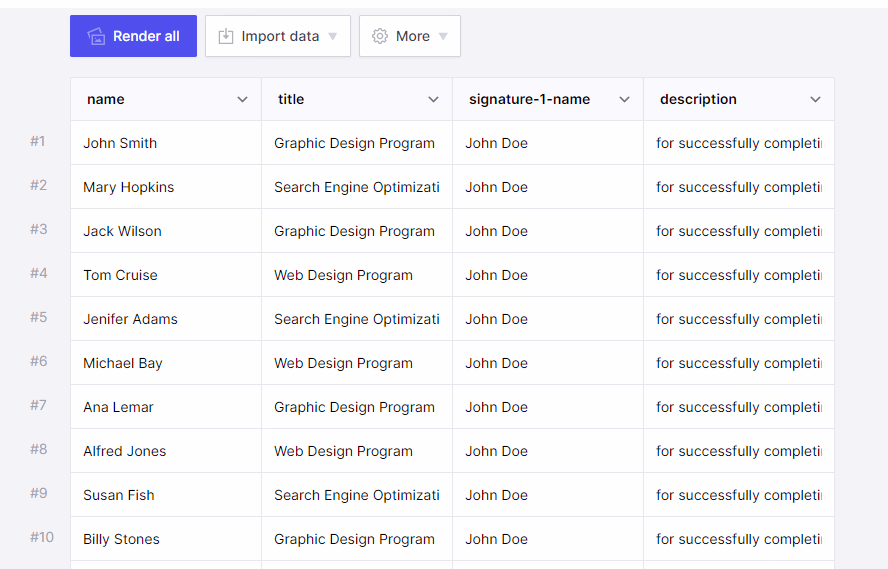
We already have the name and title fields from the table. So, a modified version of the table is shown below:

Next, we copy every data and create a CSV file from it, using Microsoft Excel or any similar software.
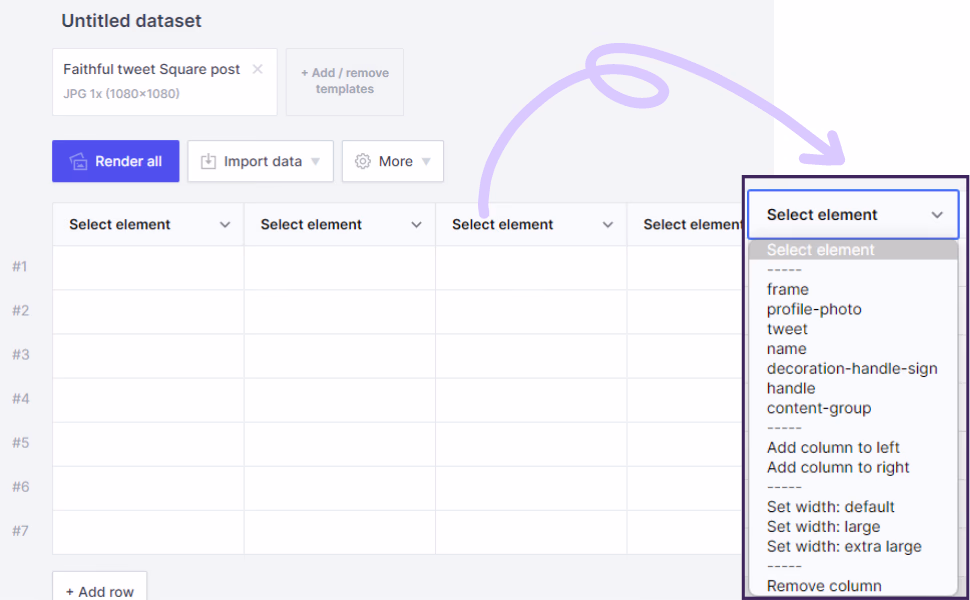
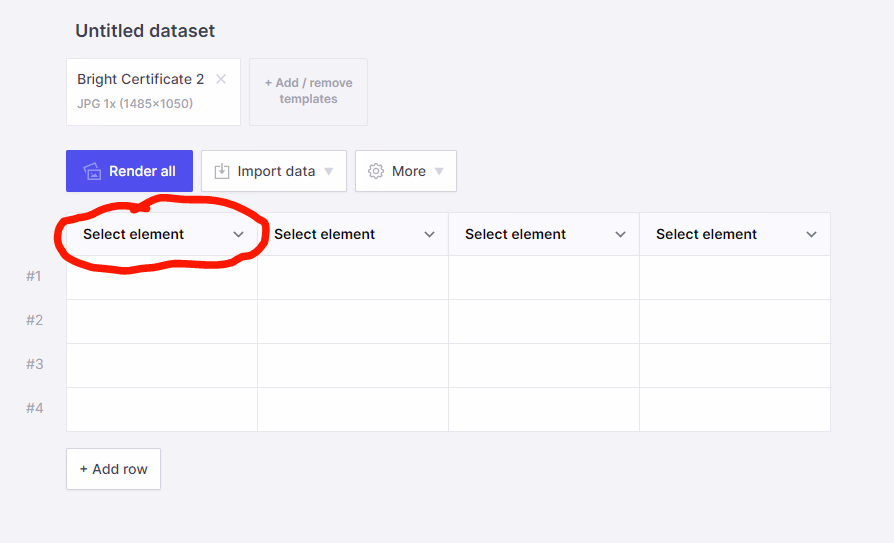
While creating the CSV file, ensure that you give each heading the exact name as indicated in the information panel above. Observe the table above and you’ll notice that we did the same. Also, click on the "Select element" header and chose the appropriate one that corresponds to the header names you have on your CSV file before uploading.
In our case, the headings will look like this:
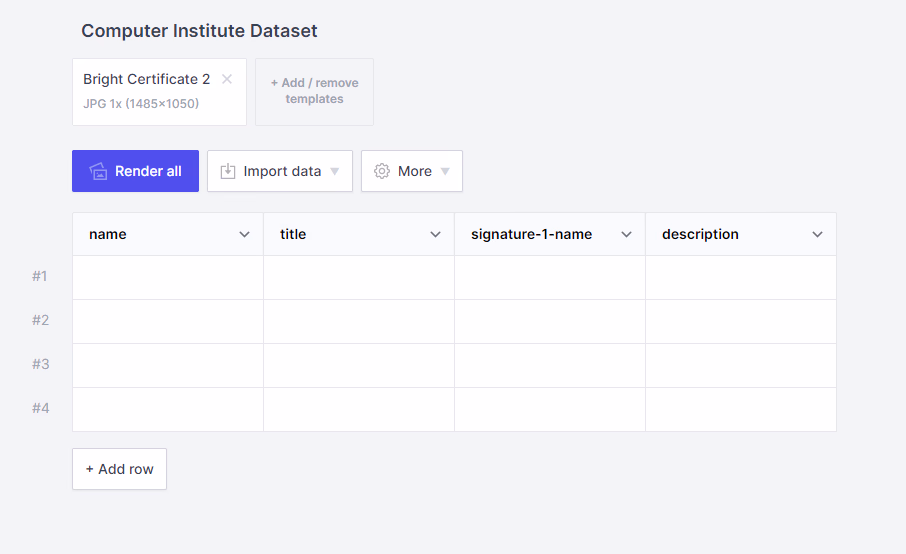
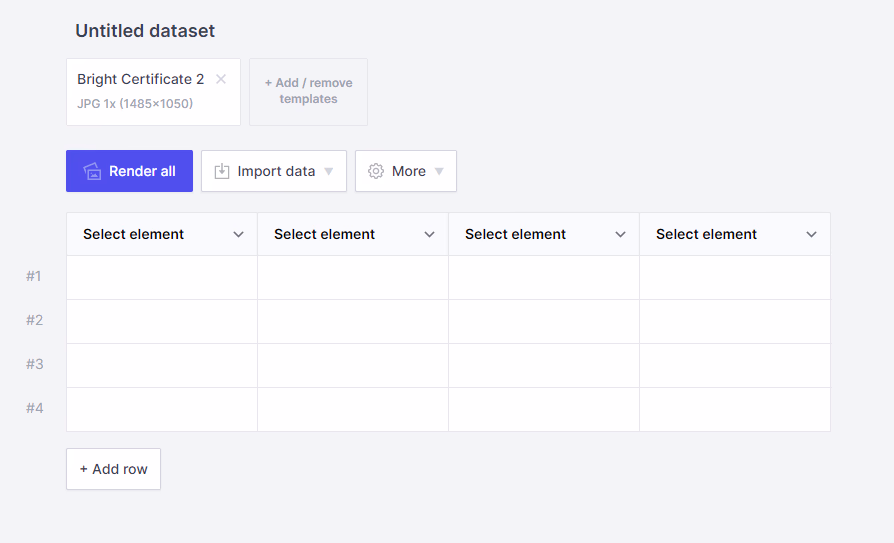
After Uploading the CSV file, we have created, our dataset now looks like this:
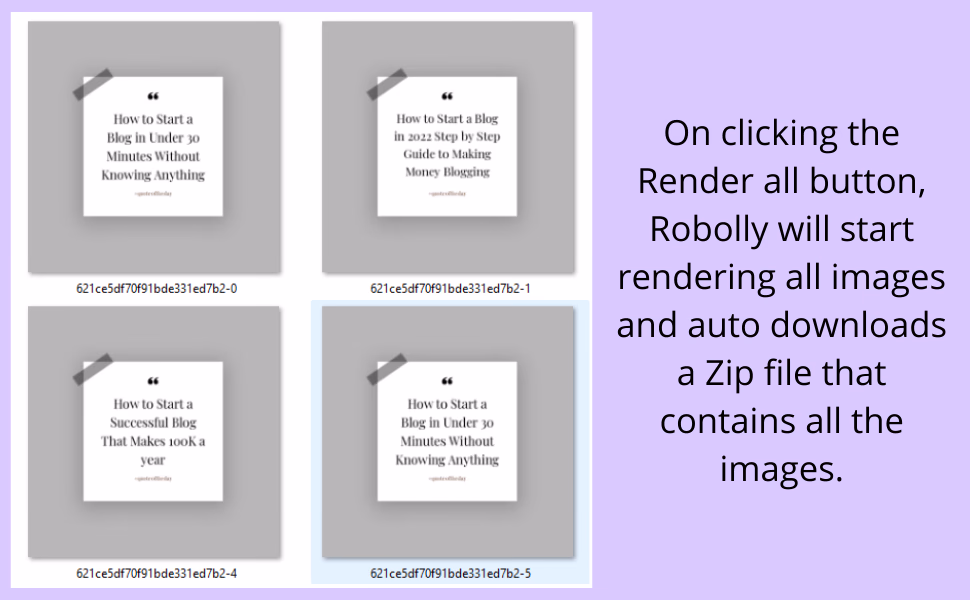
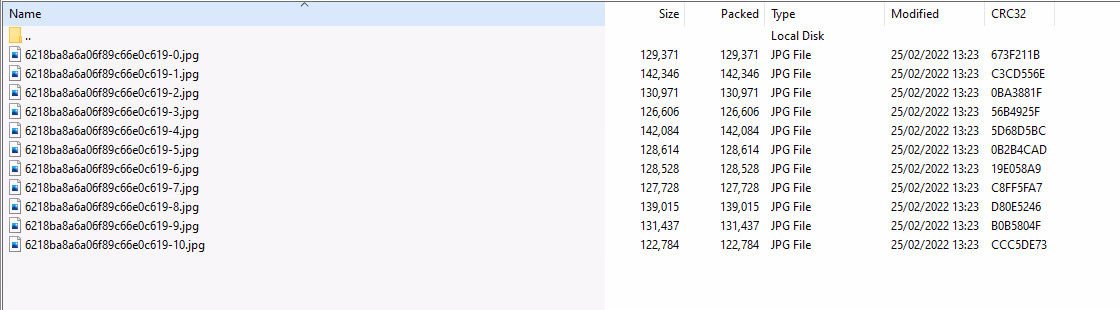
From here, all we need to do is to click on the "Render all" button and wait for the process to finish. The expected output will be a zip file containing all the certificates.
Opening the zip file will look like this:
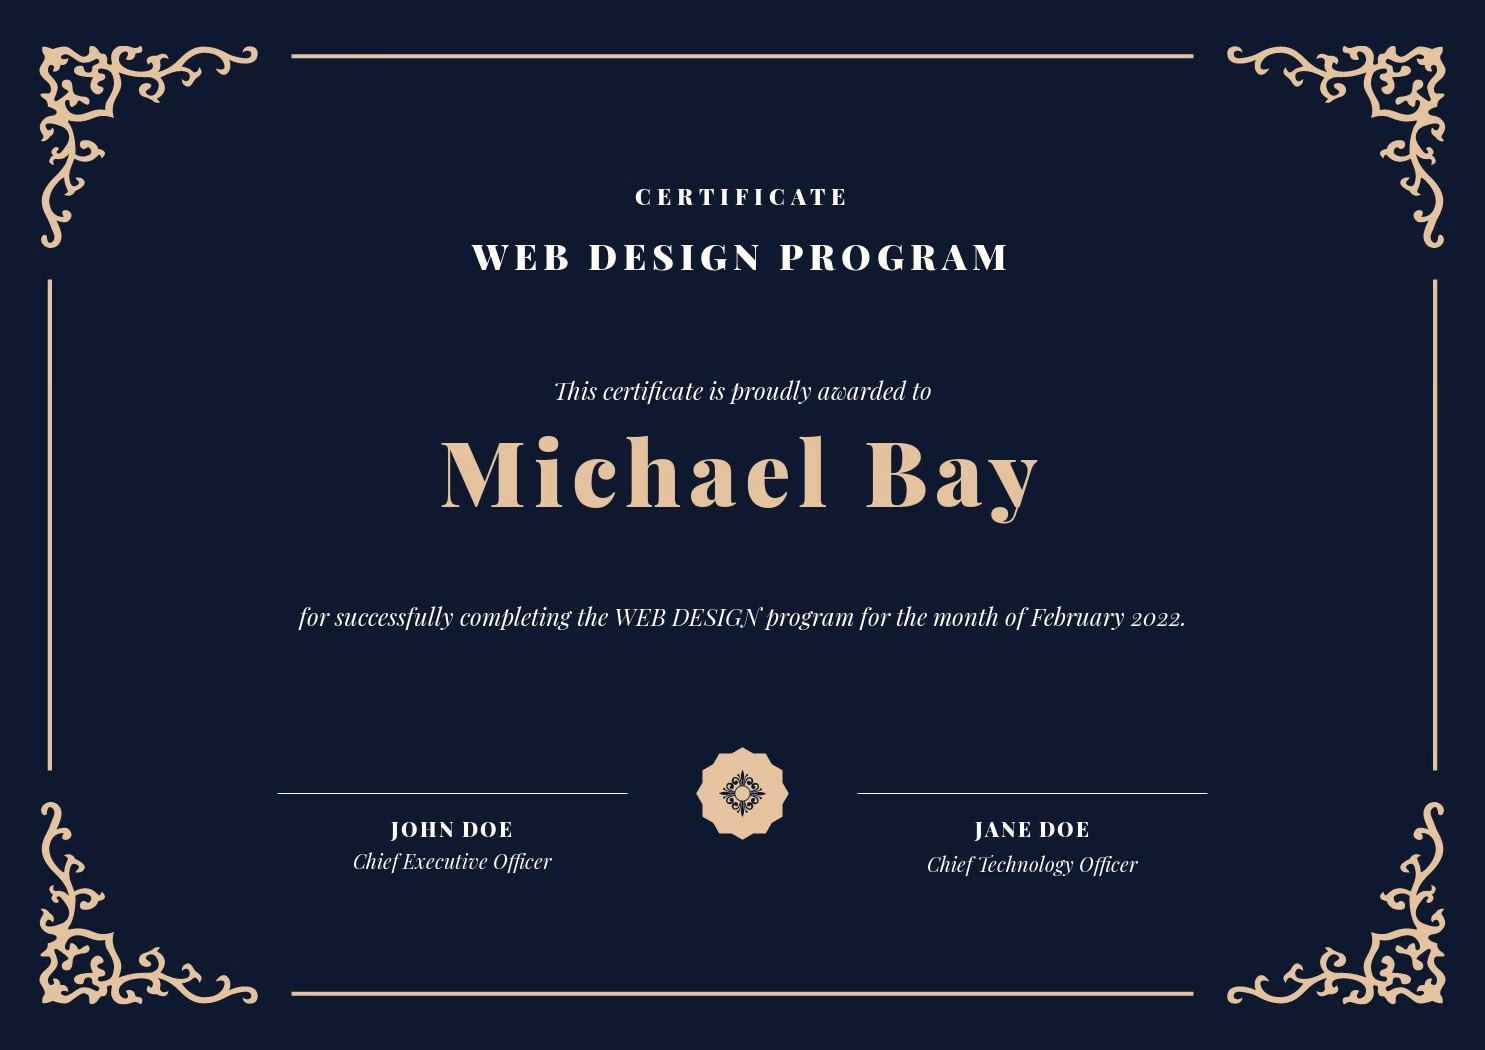
Here’s one of the certificates rendered from this process:
Conclusion
Depending on your needs, there are a variety of certificate design templates to choose from. A basic and tidy certificate template, for example, is an excellent alternative for recognizing your employees' accomplishments. Additionally, for people who attended any of these events, you can offer personalized training or seminar certificates, as well as workshop certificates. While doing all these, it is important to note, nevertheless, that following industry best practices is critical while designing a certificate. Robolly is here to help you stay on top of the game when it comes to delivering high-quality designs while maintaining the best industry practices.