How to use Make (Integromat) and Robolly to auto-generate images
In this tutorial, I'll show you how to use Robolly with Integromat to auto-generate images based on different scenarios. For this tutorial example, I'll set up a scenario that turns tweets into images and uploads them into a Google Drive folder. Follow along even if your use case looks different as the same principles apply.
While Robolly doesn't have an official Make integration, it's possible to set it up without it (and simple) using Robolly's URL-based API. Robolly API makes it simple to generate dynamic images on-demand, and it works with Make and other similar tools like Zapier or Pabbly Connect.
First, set up a template in Robolly. I imported the "Bewildered tweet Square post" template from the template gallery:
Next, open Make.com (formally Integromat), create a new scenario, and add the first step which is Twitter. Connect your Twitter account if you haven't already, choose who's tweets you wanna watch, select return full text of tweets, and change the limit to 1.
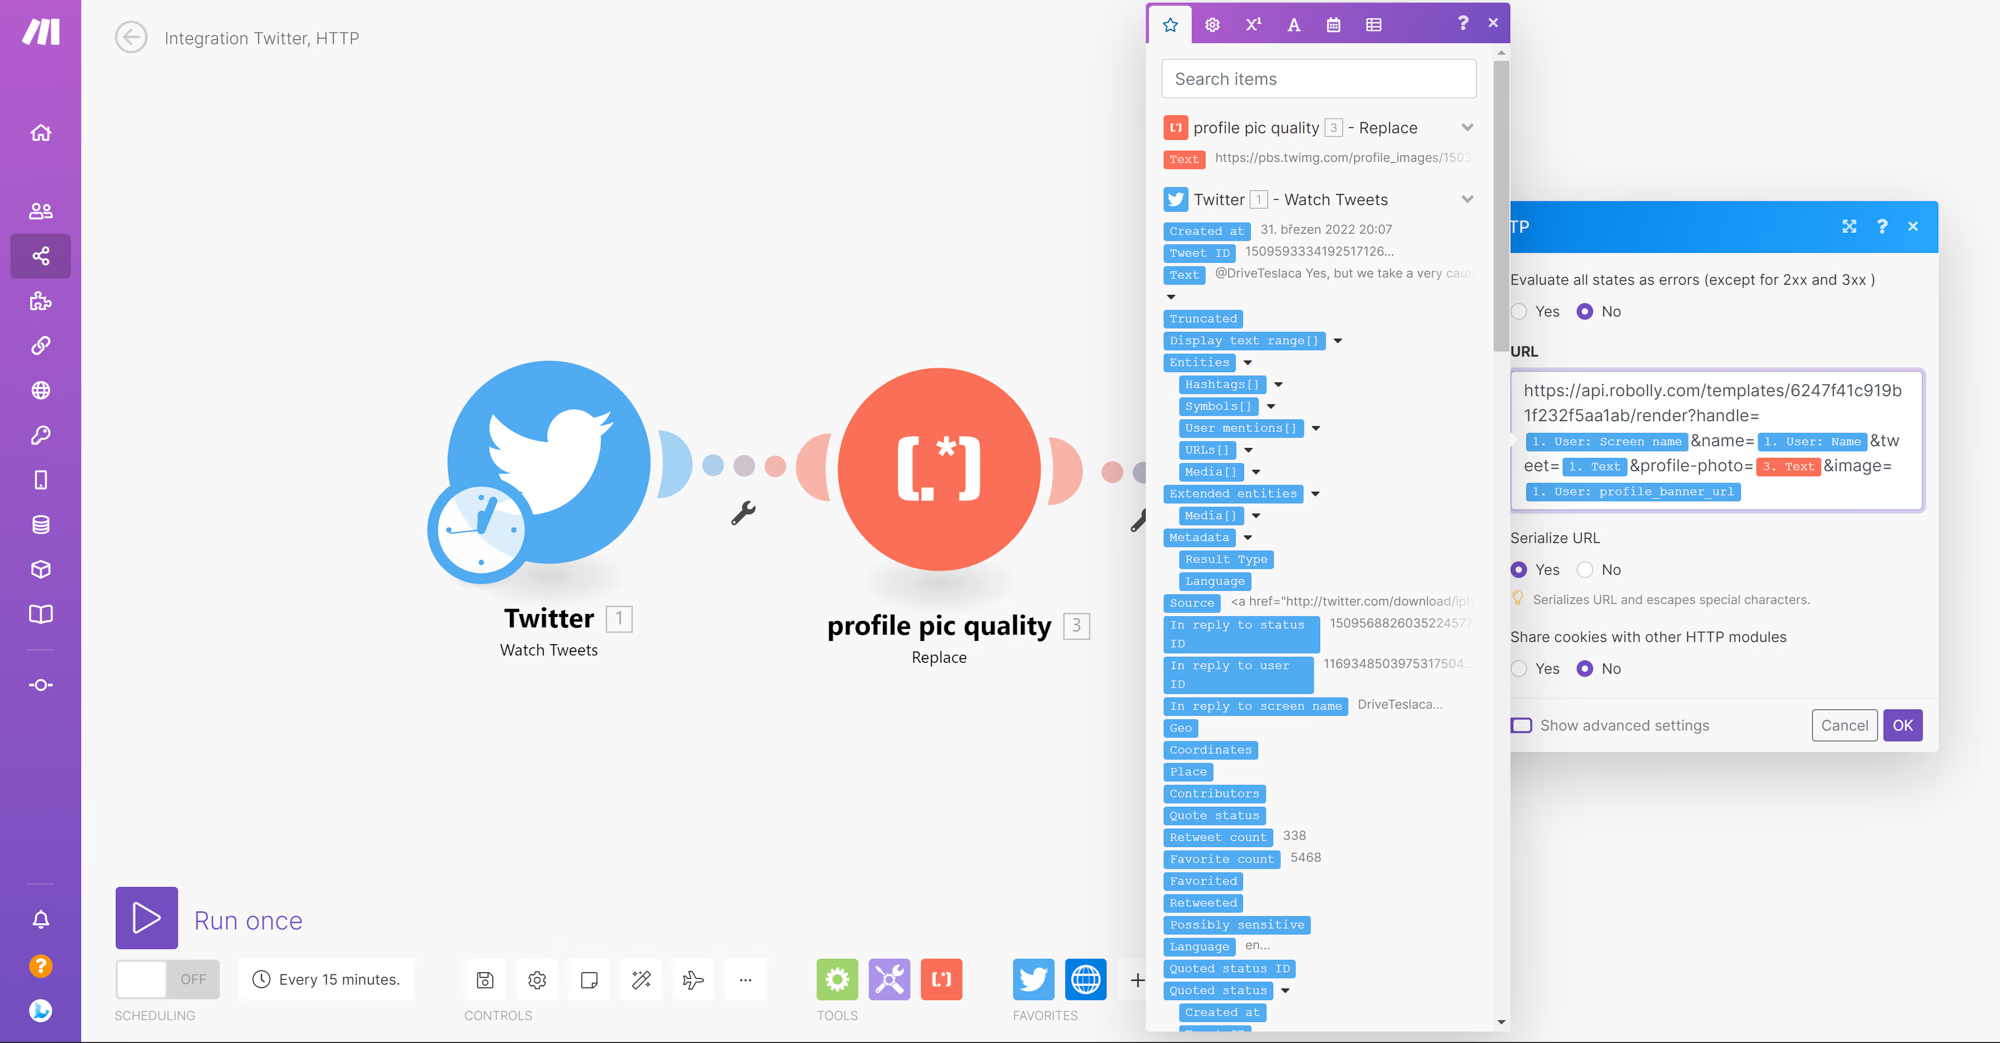
Next, add an HTTP tool to make the API request to Robolly to render the image based on your template and the data from the tweet.
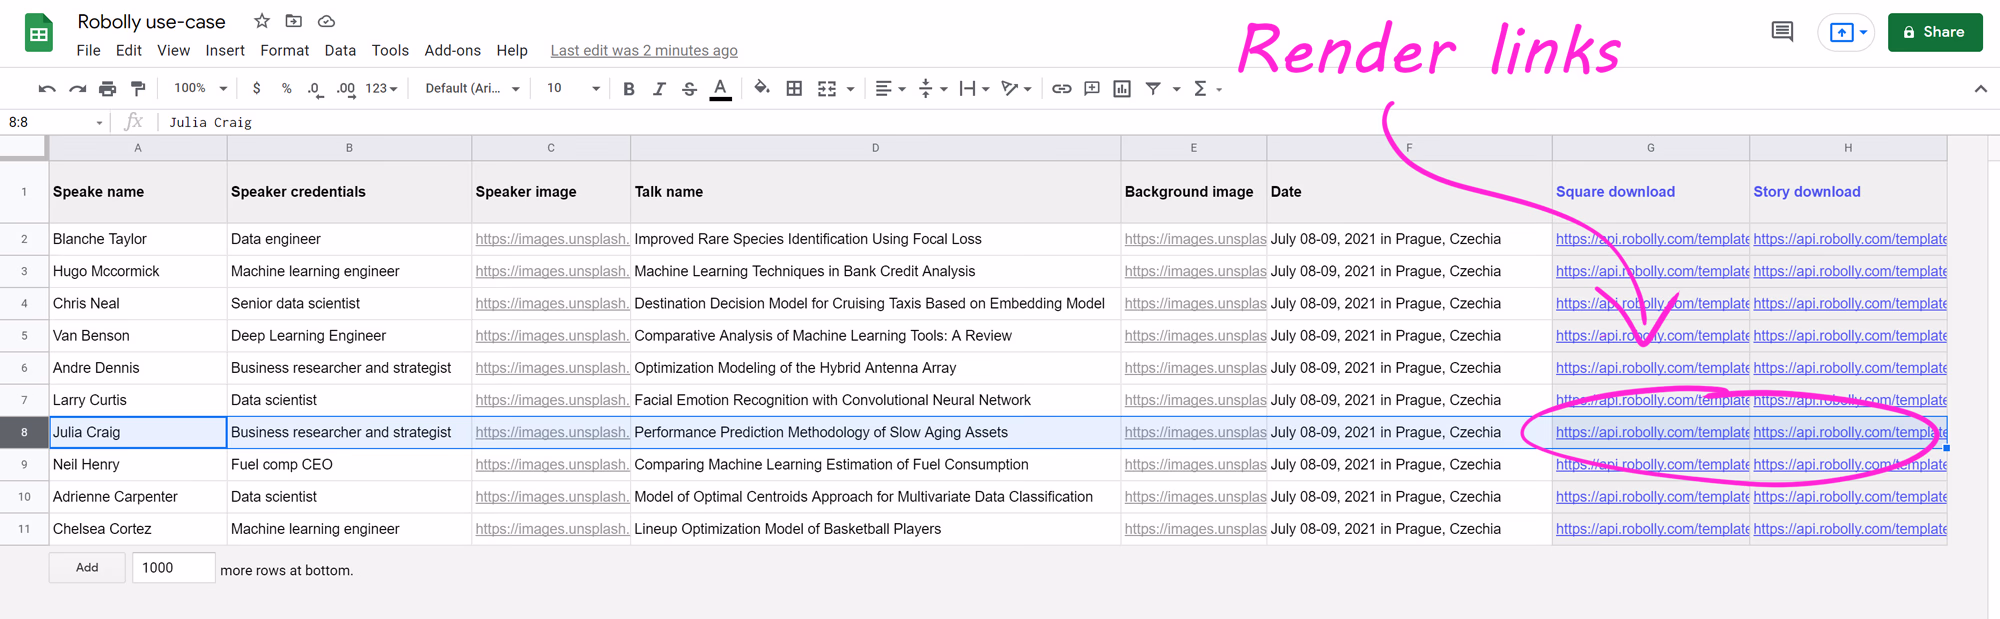
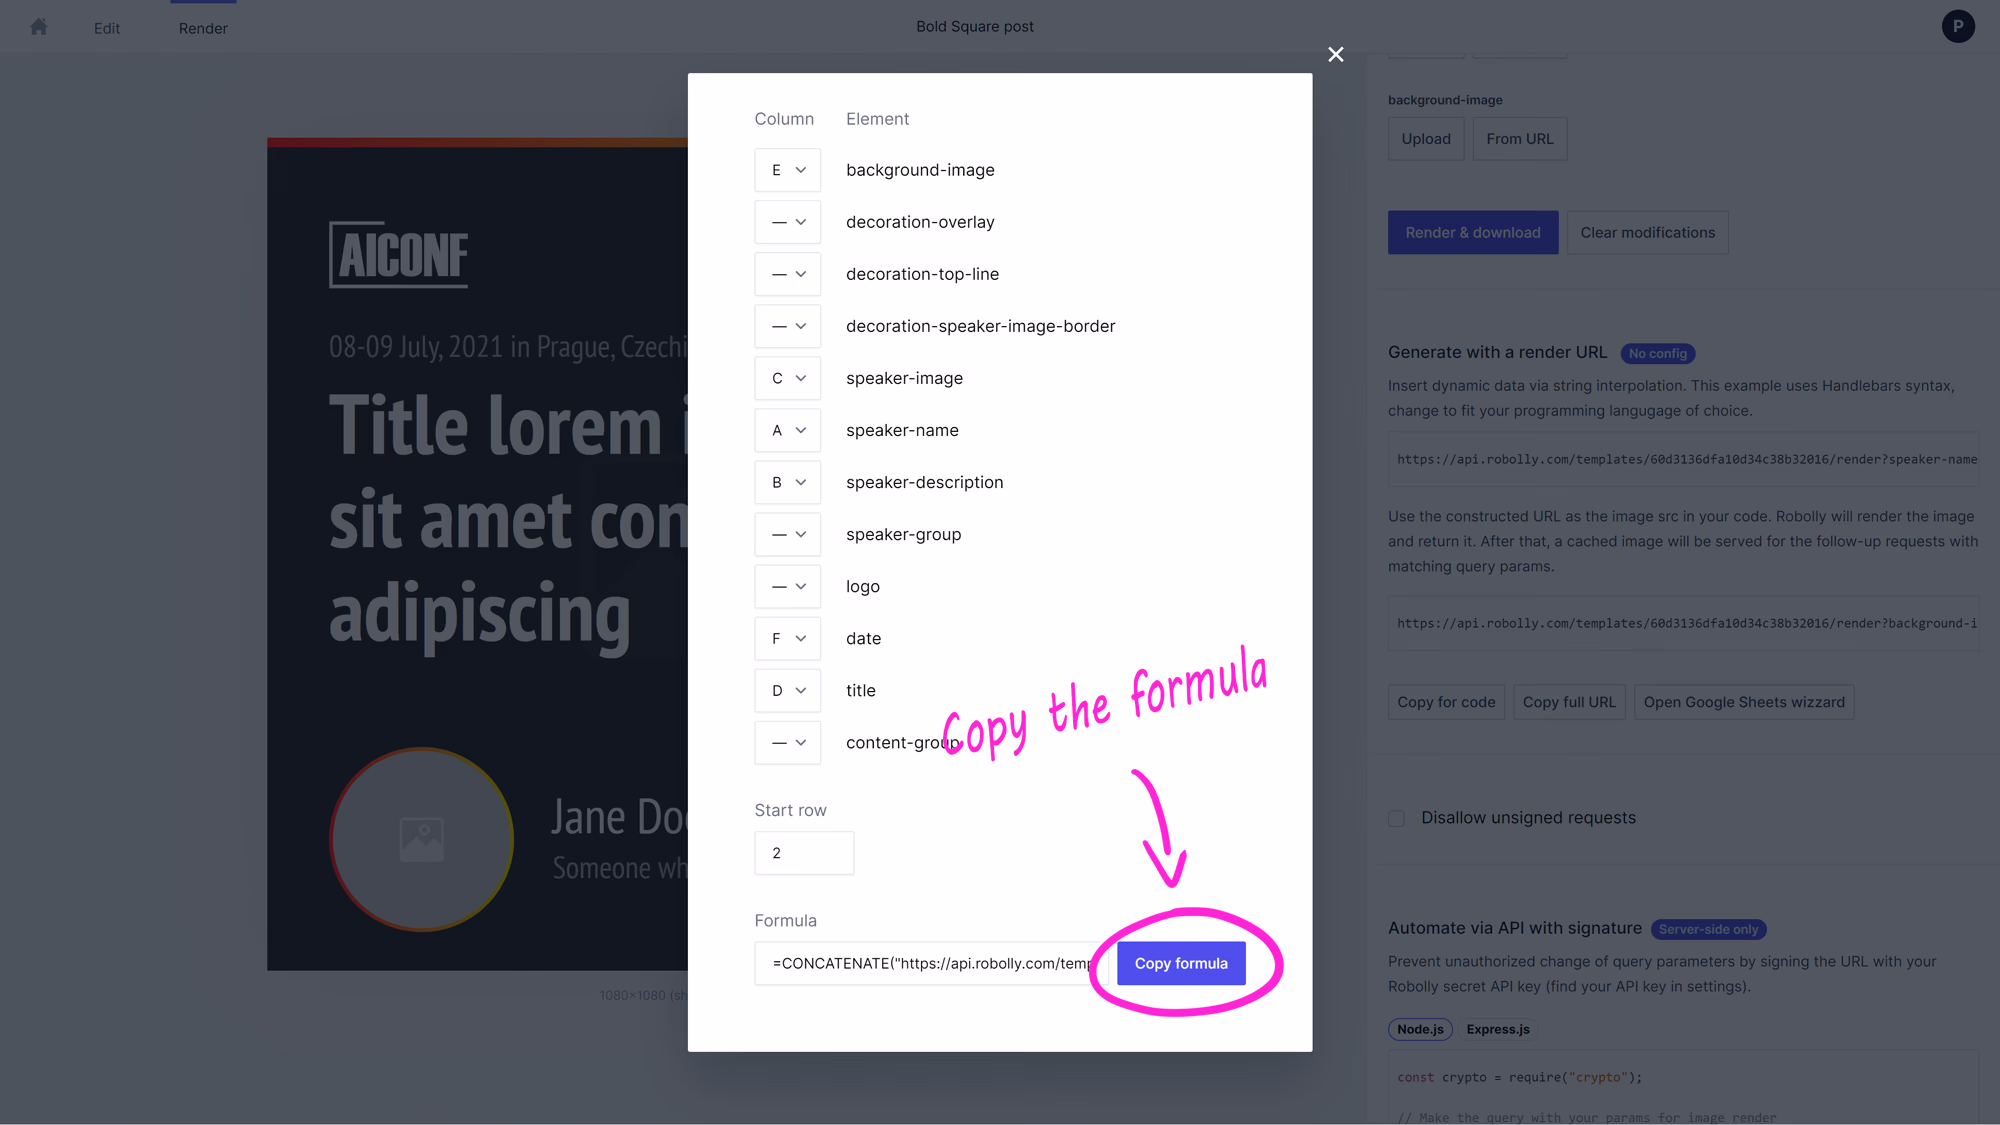
To fill in the URL, switch over to Robolly, open the template, switch to the render tab, and copy your template's render link using the "copy for code" button. Then, paste the render link into the URL field in Make and set the serialize URL to yes if not already enabled.
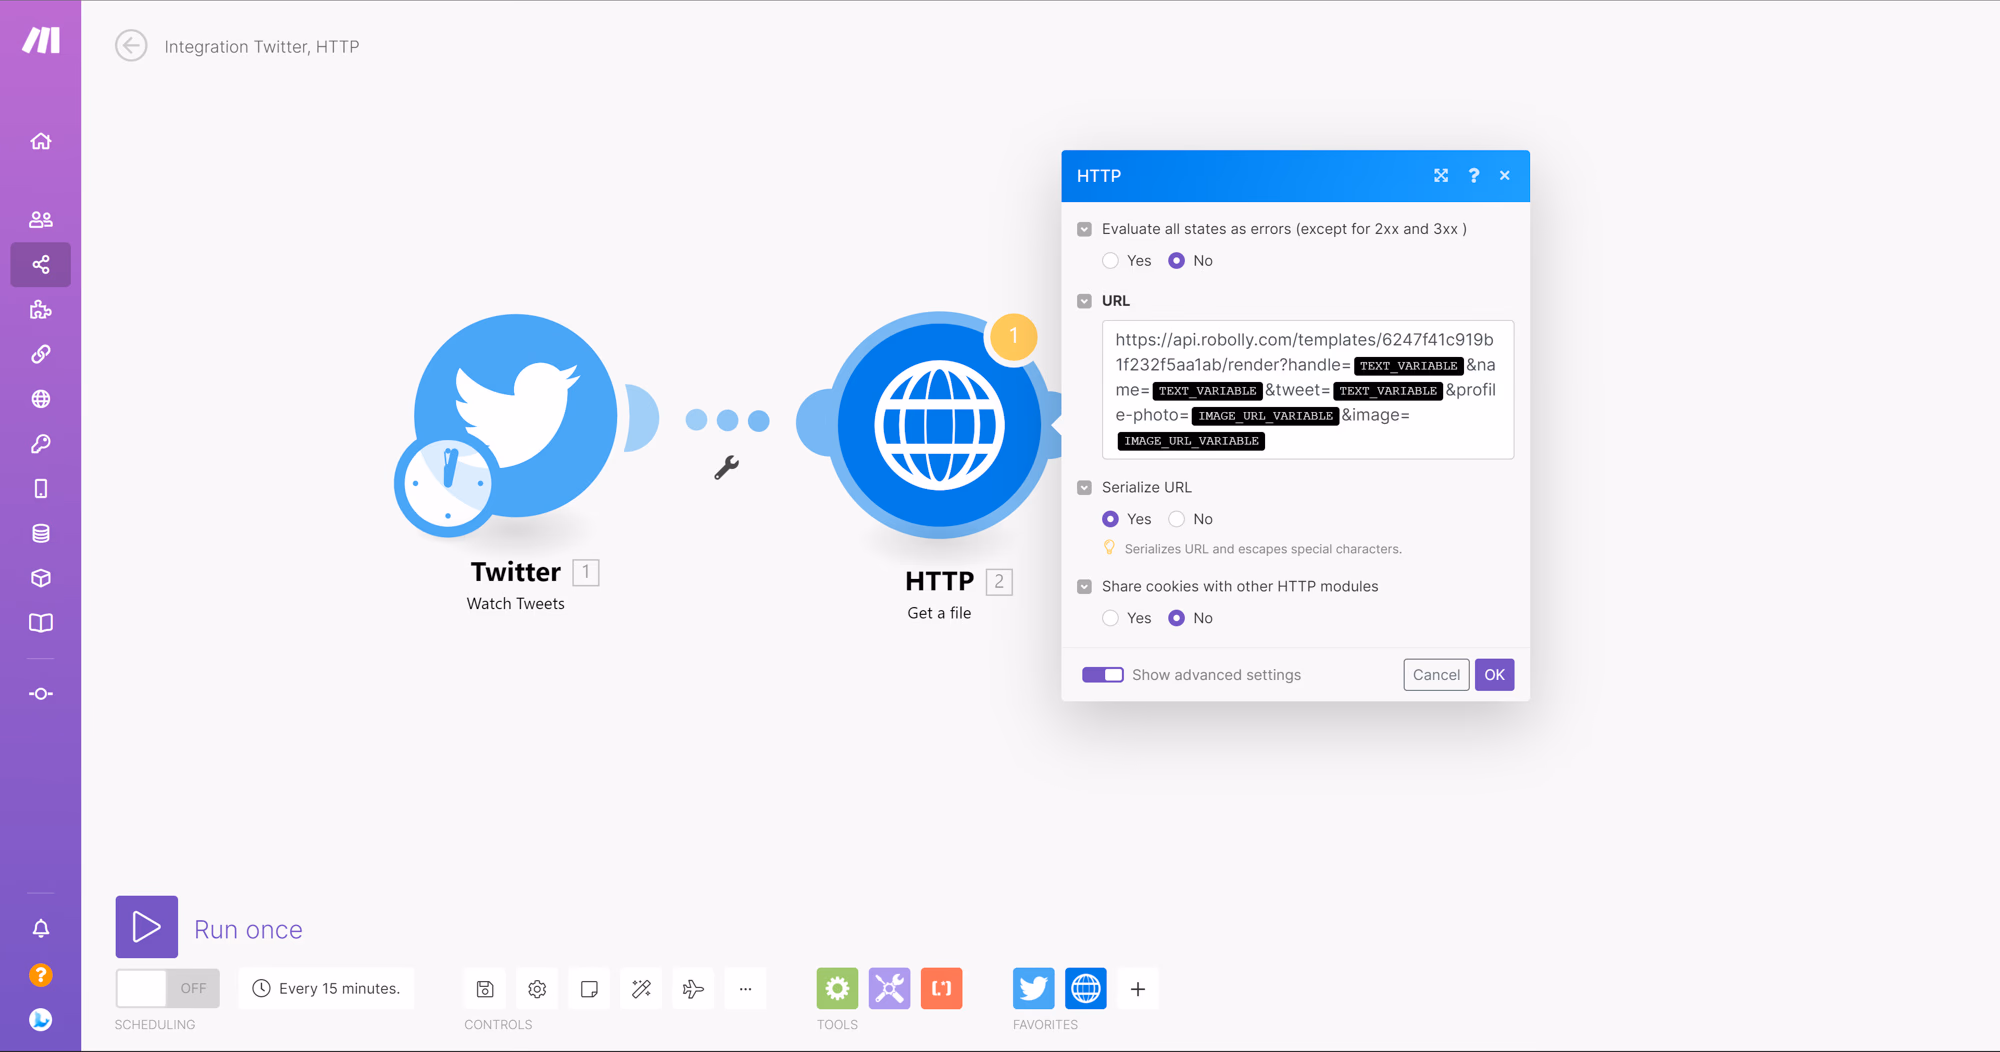
Next, you'll need to map the data from the tweet into the render link by replacing the default values and selecting the appropriate values from a menu.
It should look like this:
When I tested the setup, I discovered that the URL of the profile picture inside the tweet data is low quality. So, I figured out a way to get a normal quality using the text parser tool.
Add text parser tool if you wanna get higher profile picture quality and type in _normal into the pattern field. Into the new value field, choose empty string. In the text field, select 1.user.profile_image_url_https.
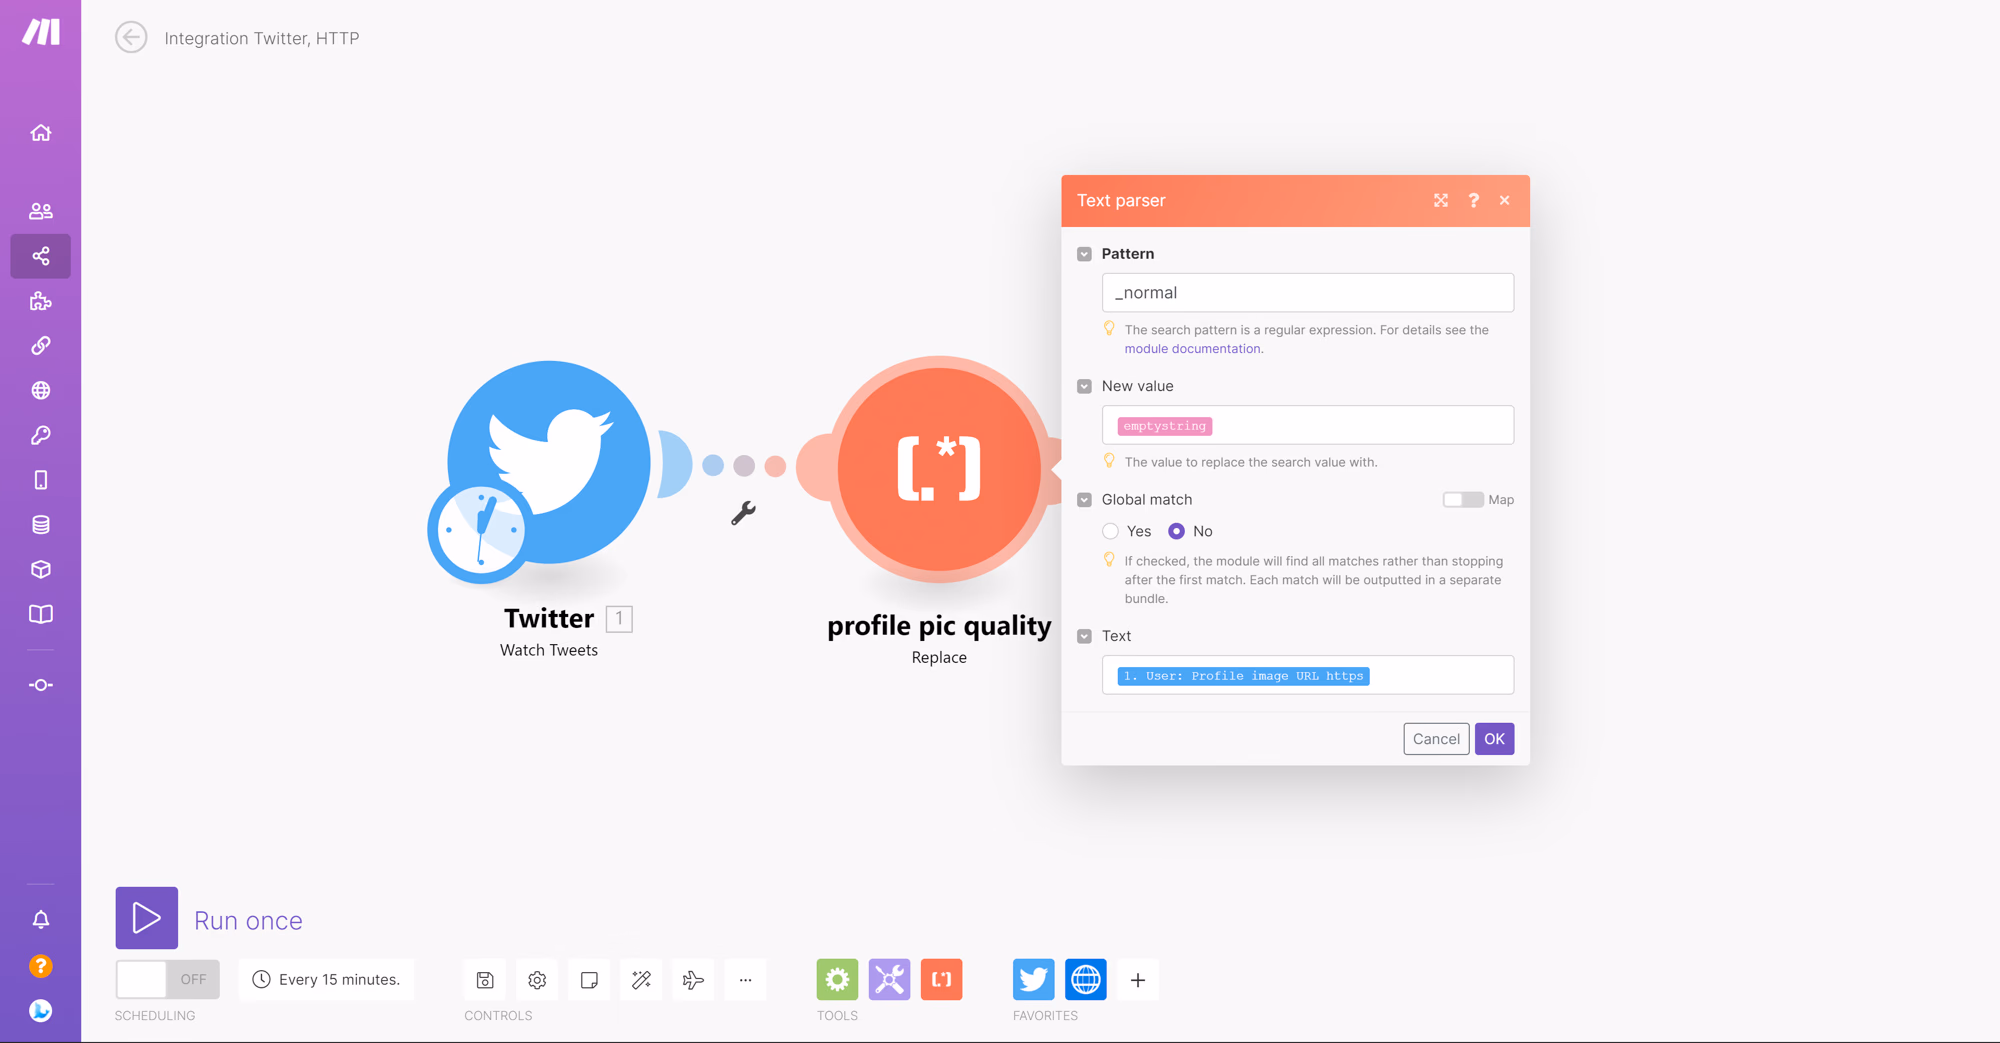
Next, pass the high-quality URL for the profile picture to the render link.
It should be like this:
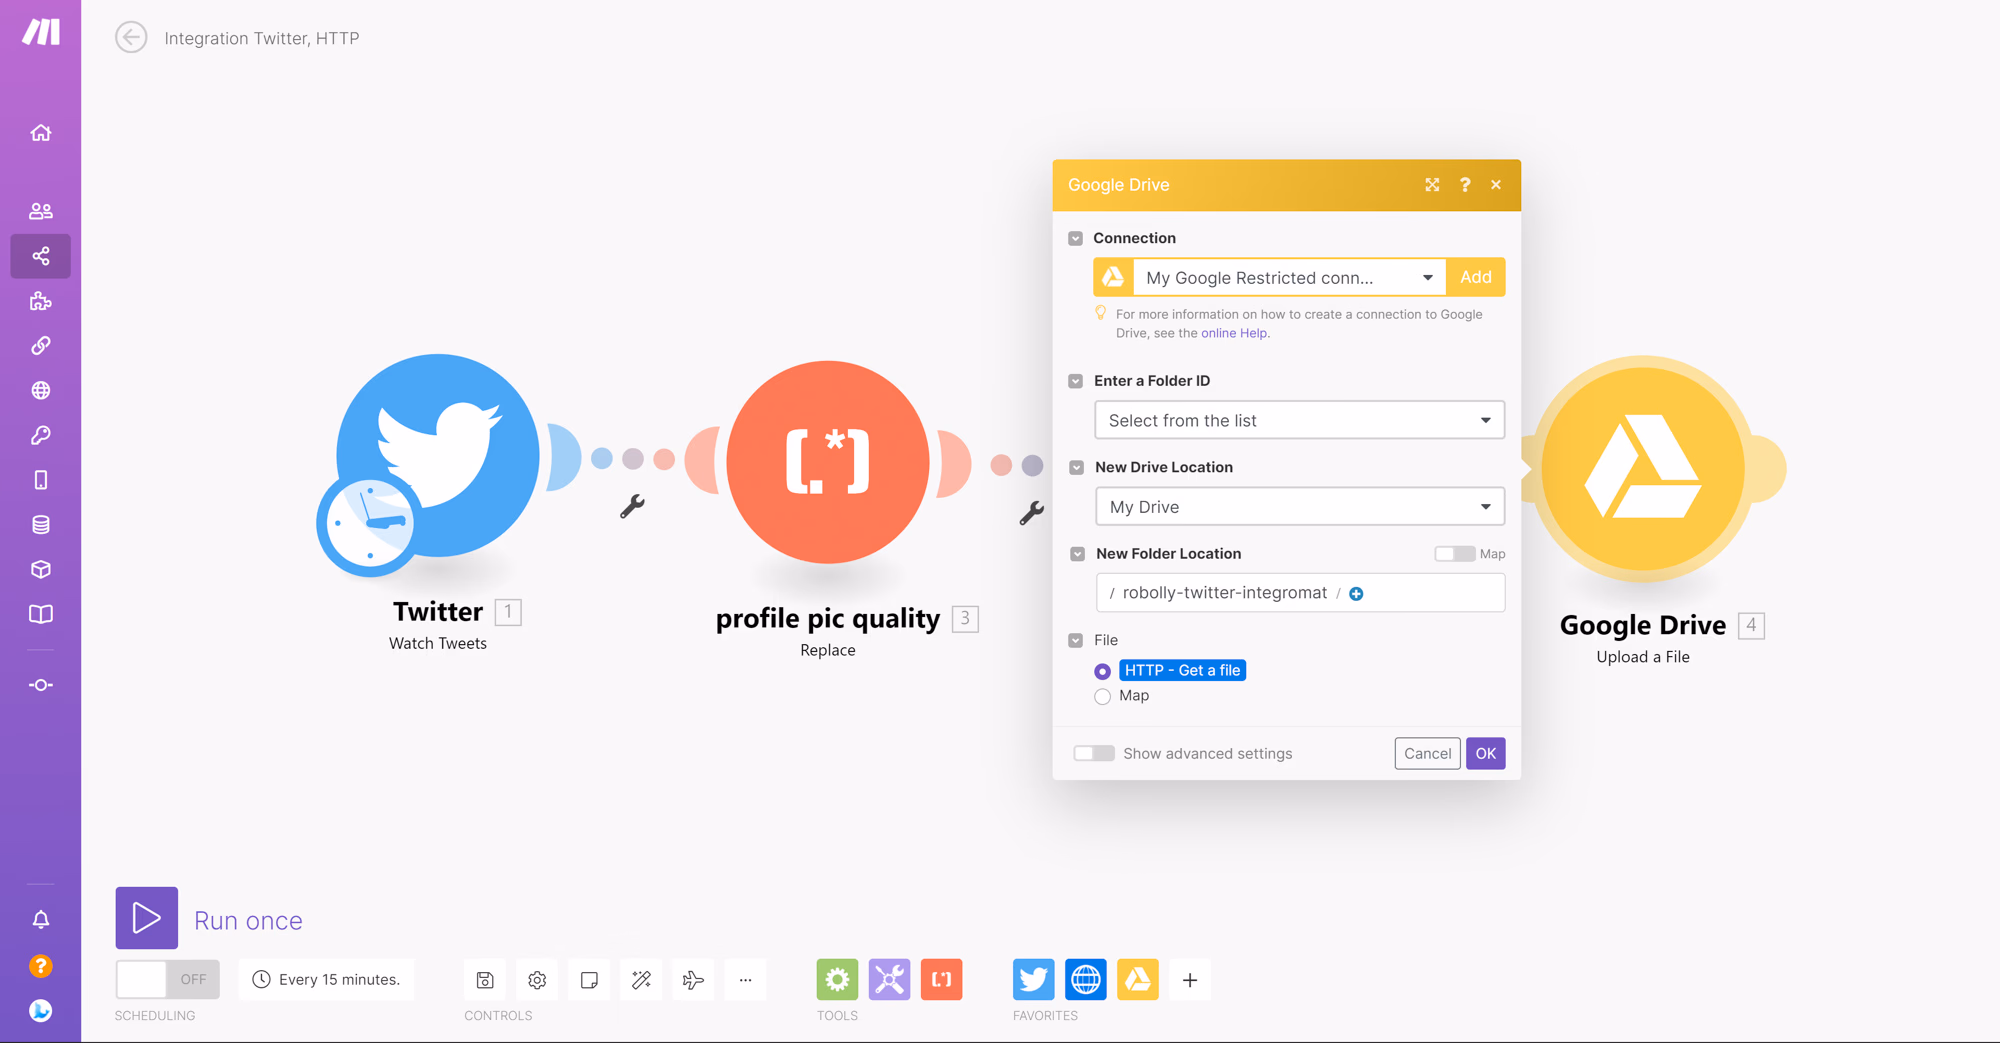
Next, add the Google drive tool to an upload file. In the menu, connect your Google Drive account and select where you want the image to be uploaded. As the file, select HTTP - GET a file which is the rendered image from Robolly. Click ok to confirm.
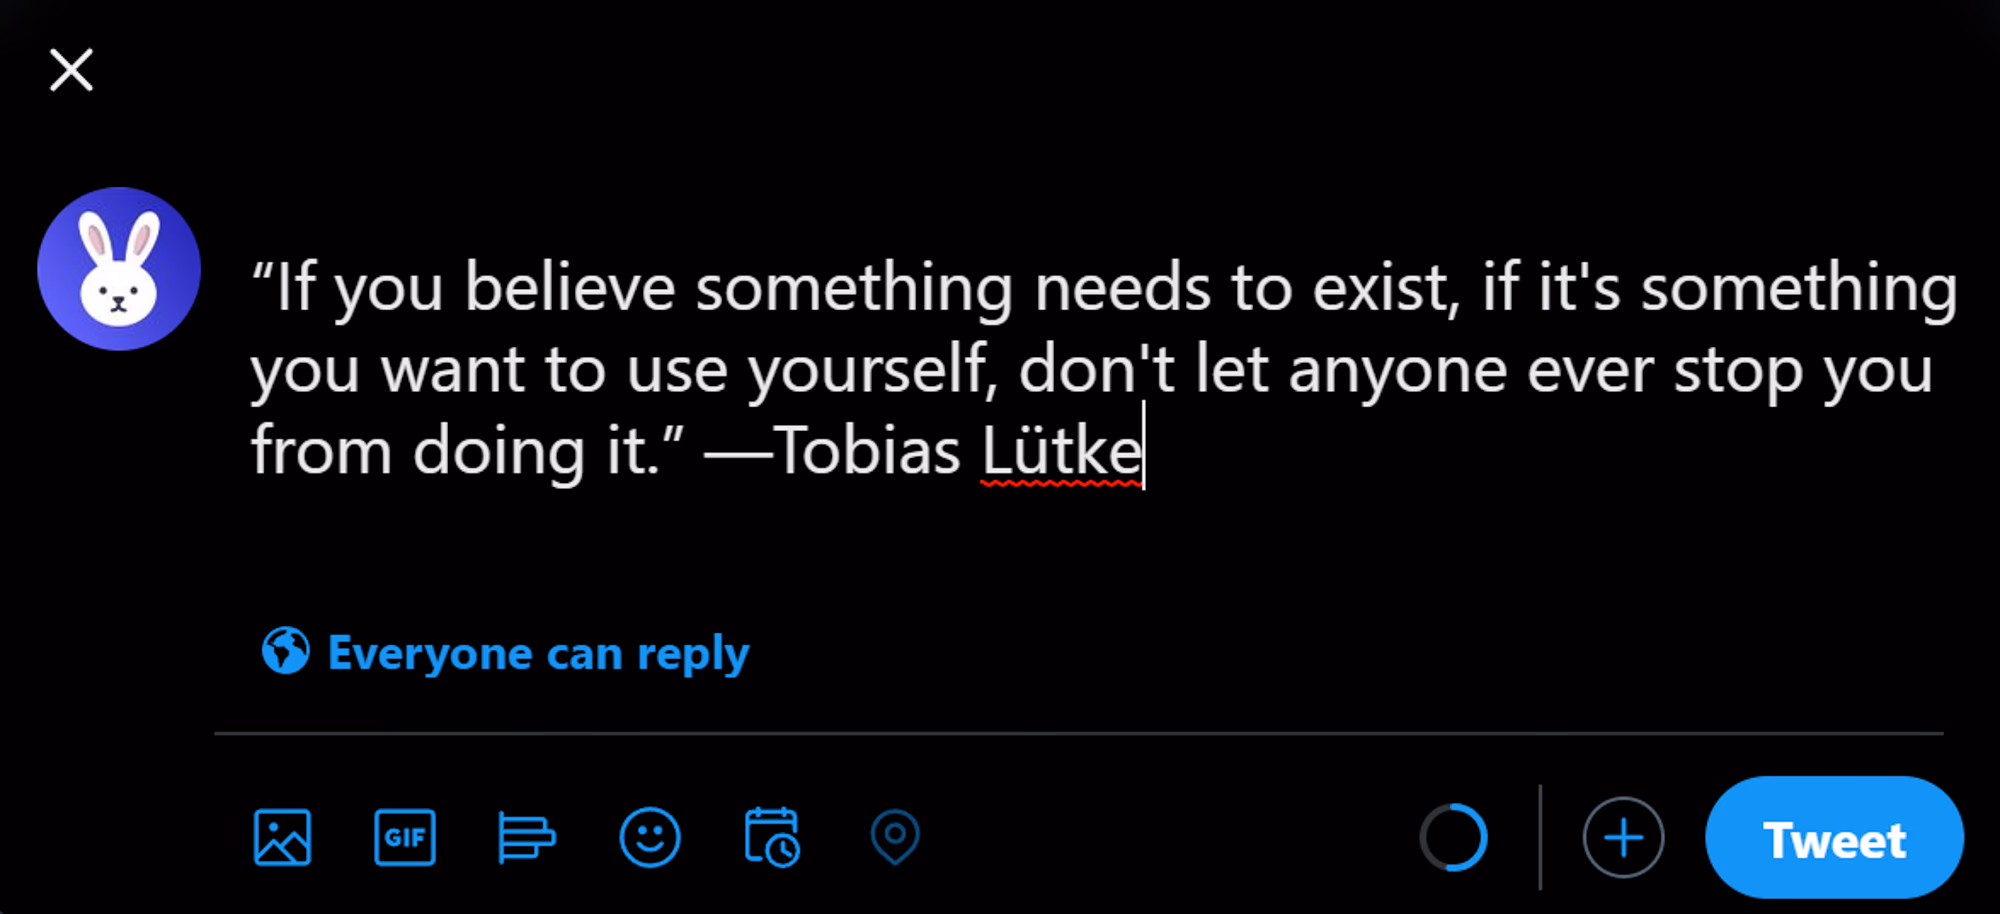
Finally, the setup is done. Let's tweet something to test the scenario:
Now, click run once at the left bottom of the screen and wait for the scenario to finish.

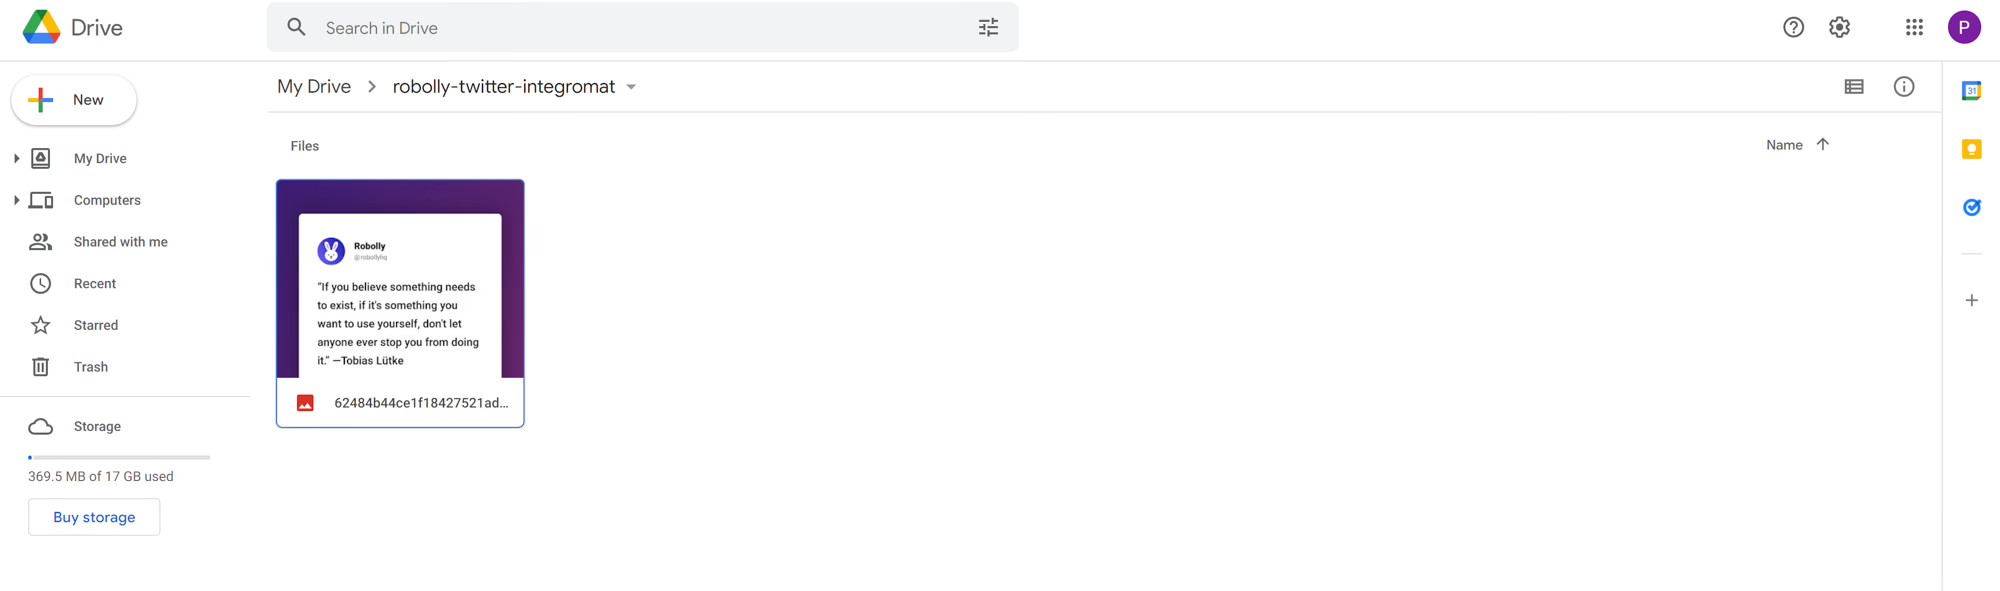
After the scenario has successfully finished, you should find the rendered image in Google Drive:
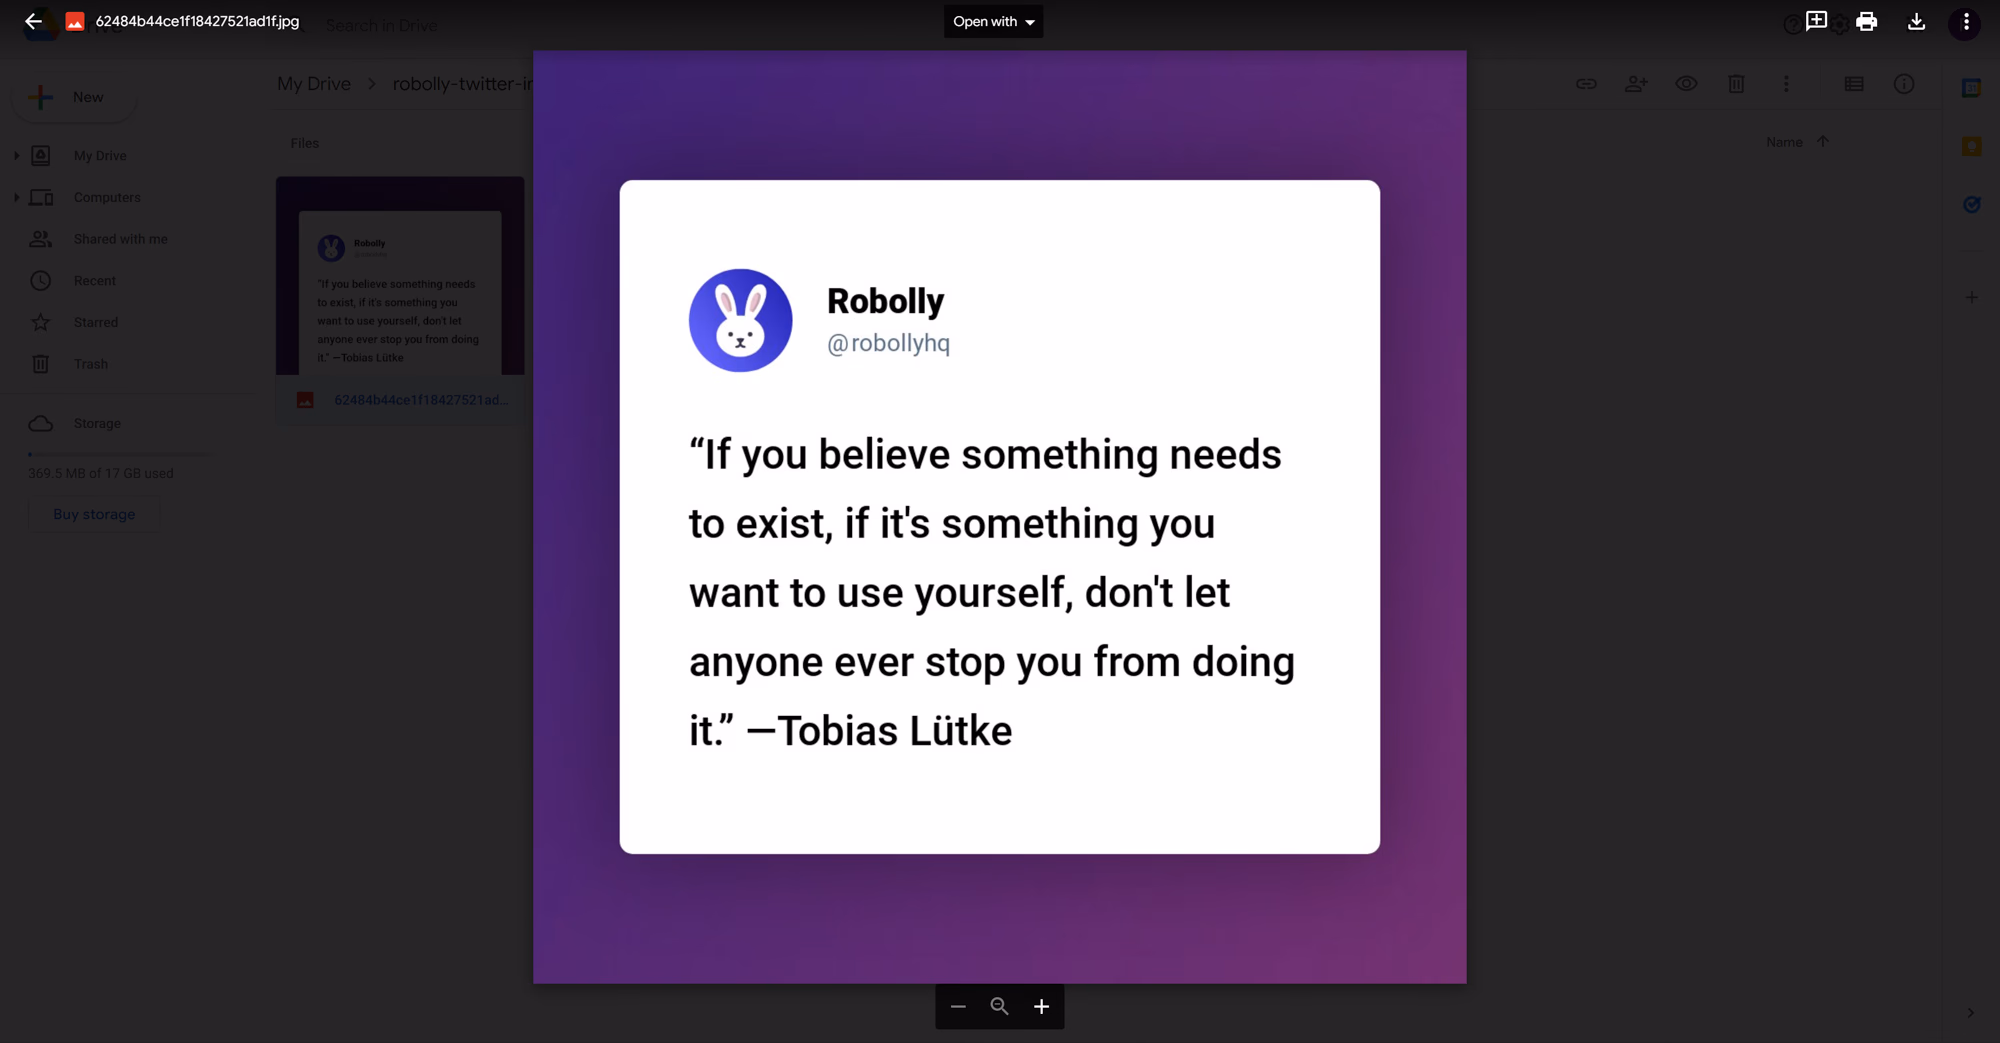
You can preview the image, download it, and use it further. Because we used the text parser to get a high-quality URL of the Twitter profile picture, the rendered image looks sharp all around.
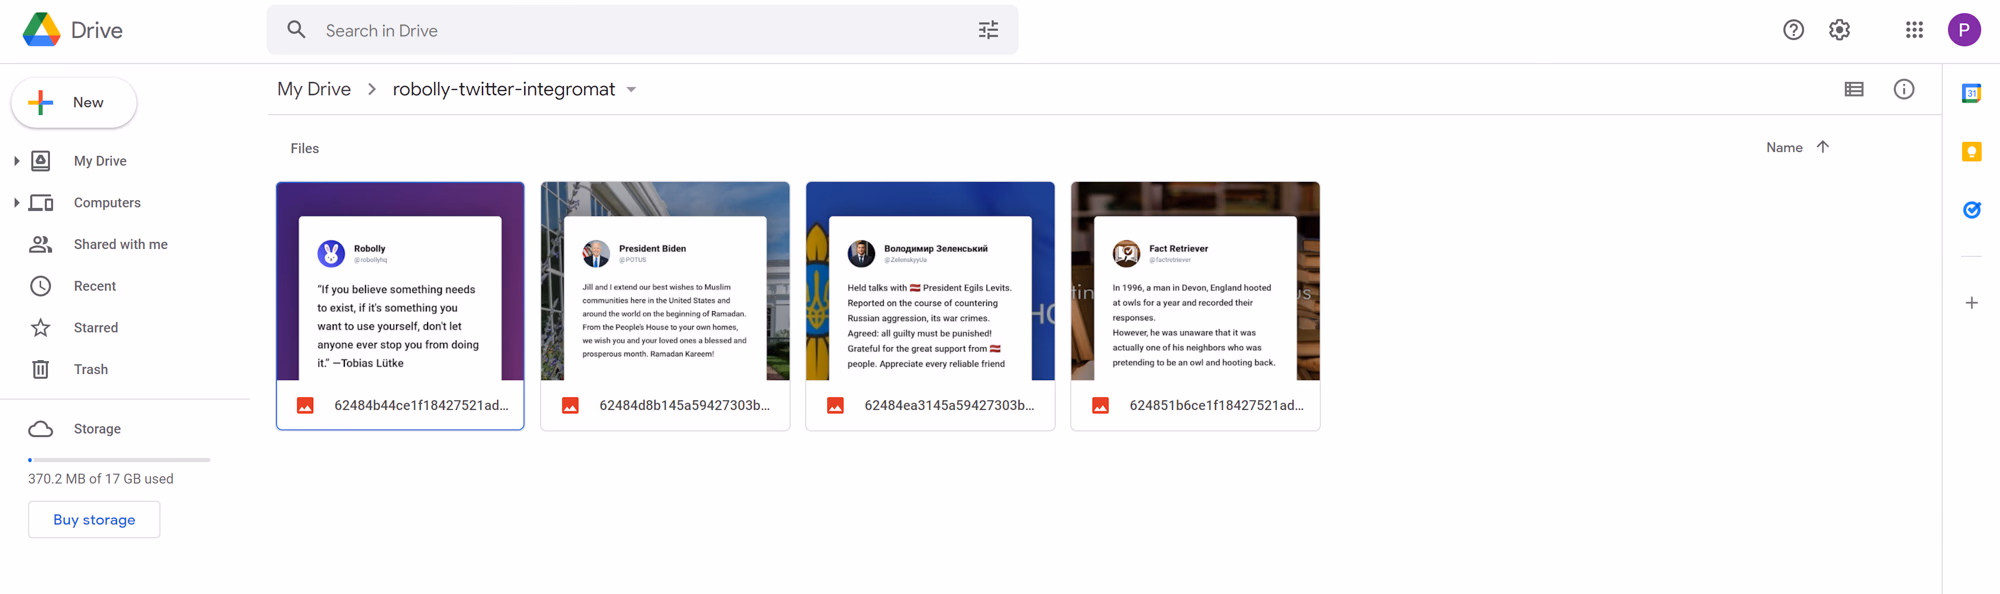
Next, you can set up a similar scenario to watch different Twitter accounts and turn the tweets into images and upload them into Google Drive.
I ran the scenario for a couple of different Twitter accounts, and here are the rendered images all uploaded to Google Drive:
There are endless possibilities when it comes to using Robolly for rendering dynamic images based on data, so go ahead and experiment.
Get in touch if you'd like to discuss your use cases.